 Doc Summary

Creating A New Rodent Season Training Course In WordPress #
Learn how to build a comprehensive rodent season training program by adding course modules, lessons, and video content. This guide also covers the process of designing a professional featured image in Canva to finalize your course presentation.
1. Navigate to https://hq.arrowtermiteandpestcontrol.com/wp-admin/index.php
Course Creation #
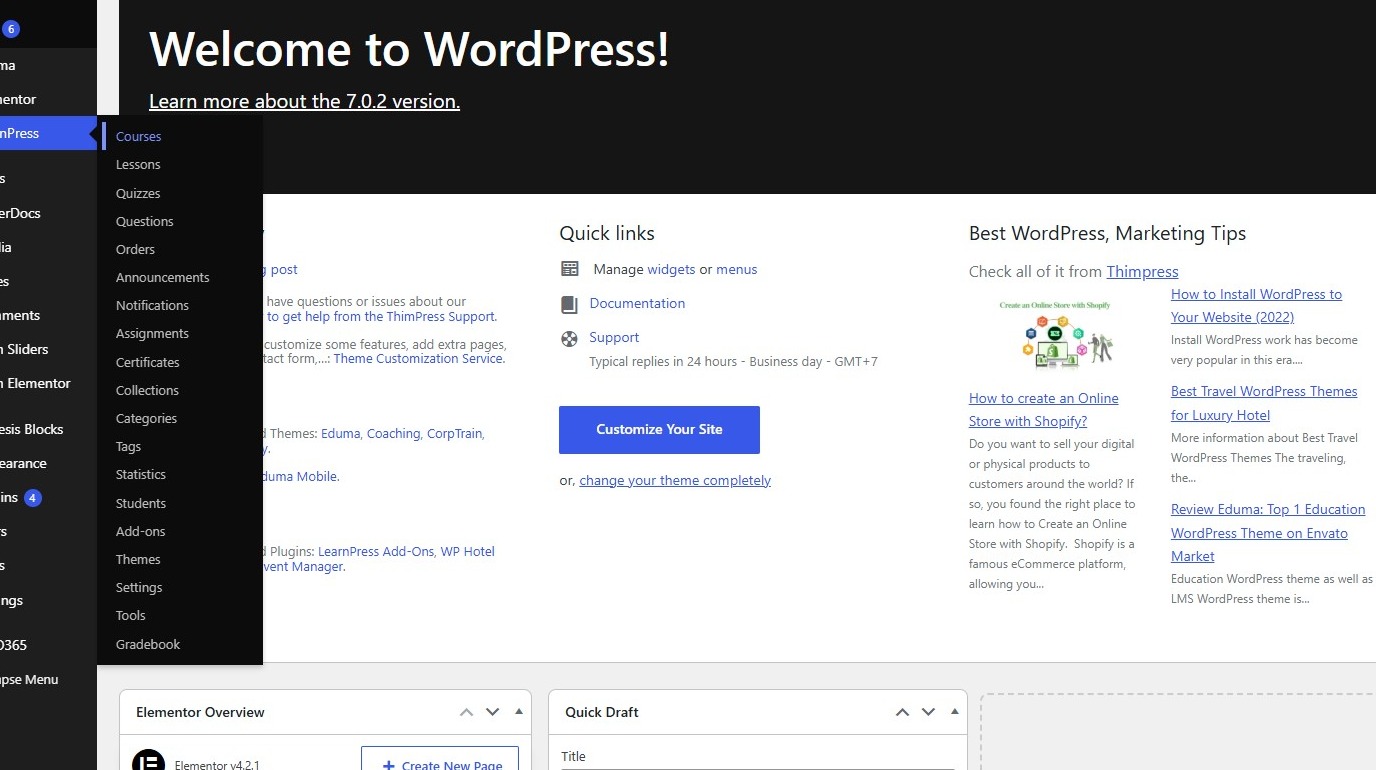
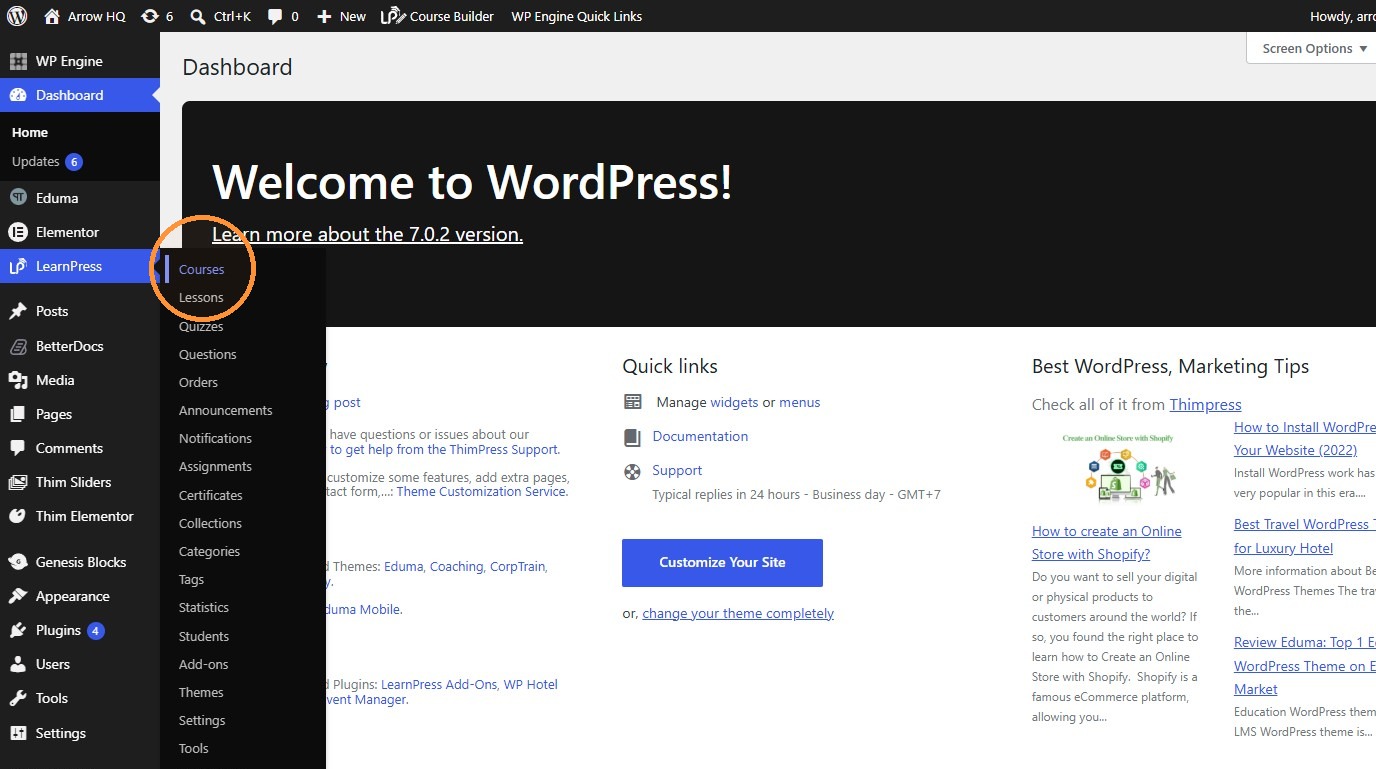
2. Click “Courses”
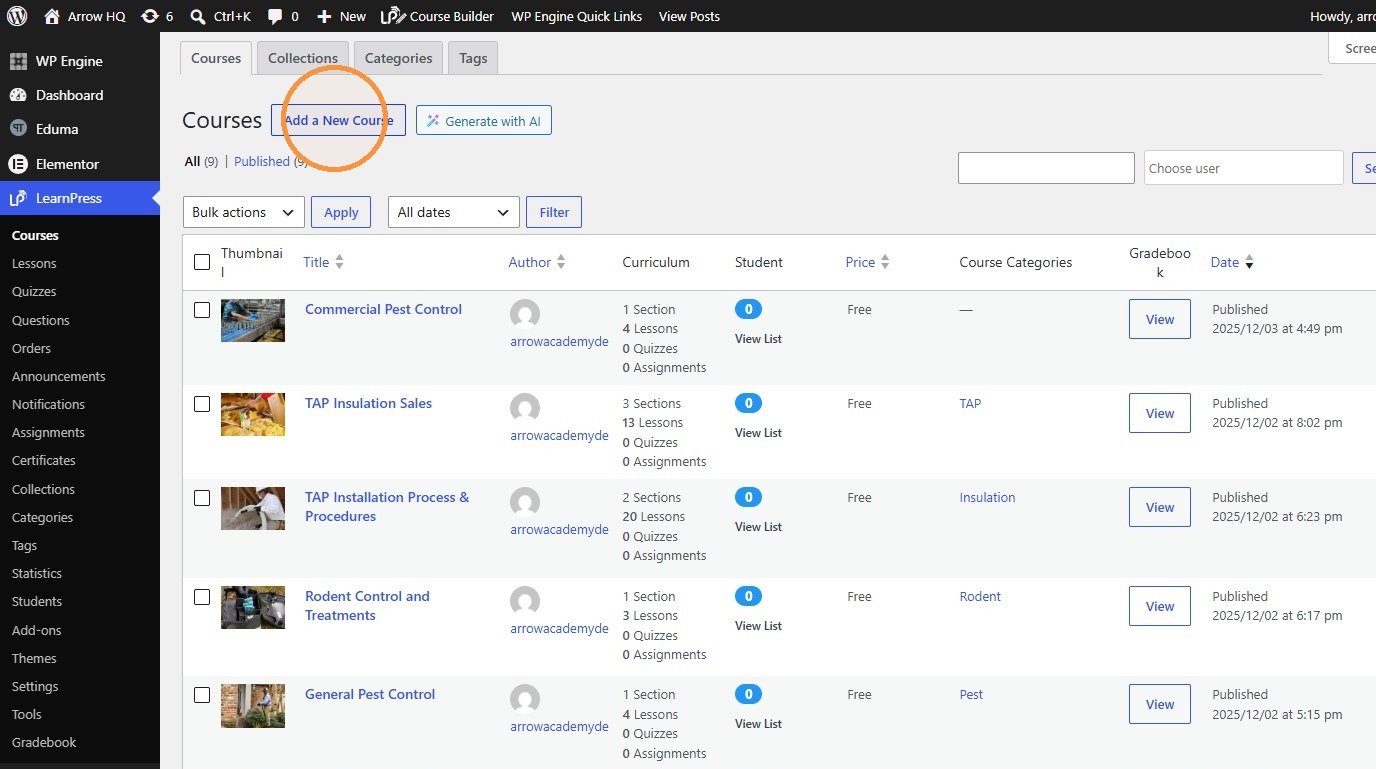
3. Click “Add a New Course”
4. Type “Rodent Season Training”
5. Click the course description editor.
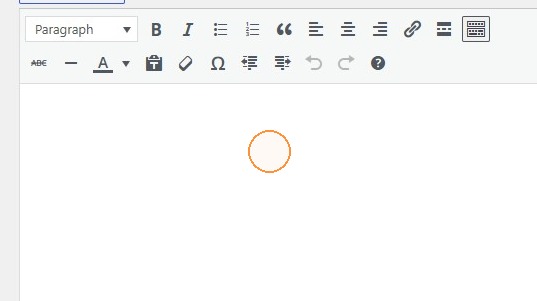
6. Type “Get ready for rodent season with our rodent week training course.”
7. Click the “Service” field.
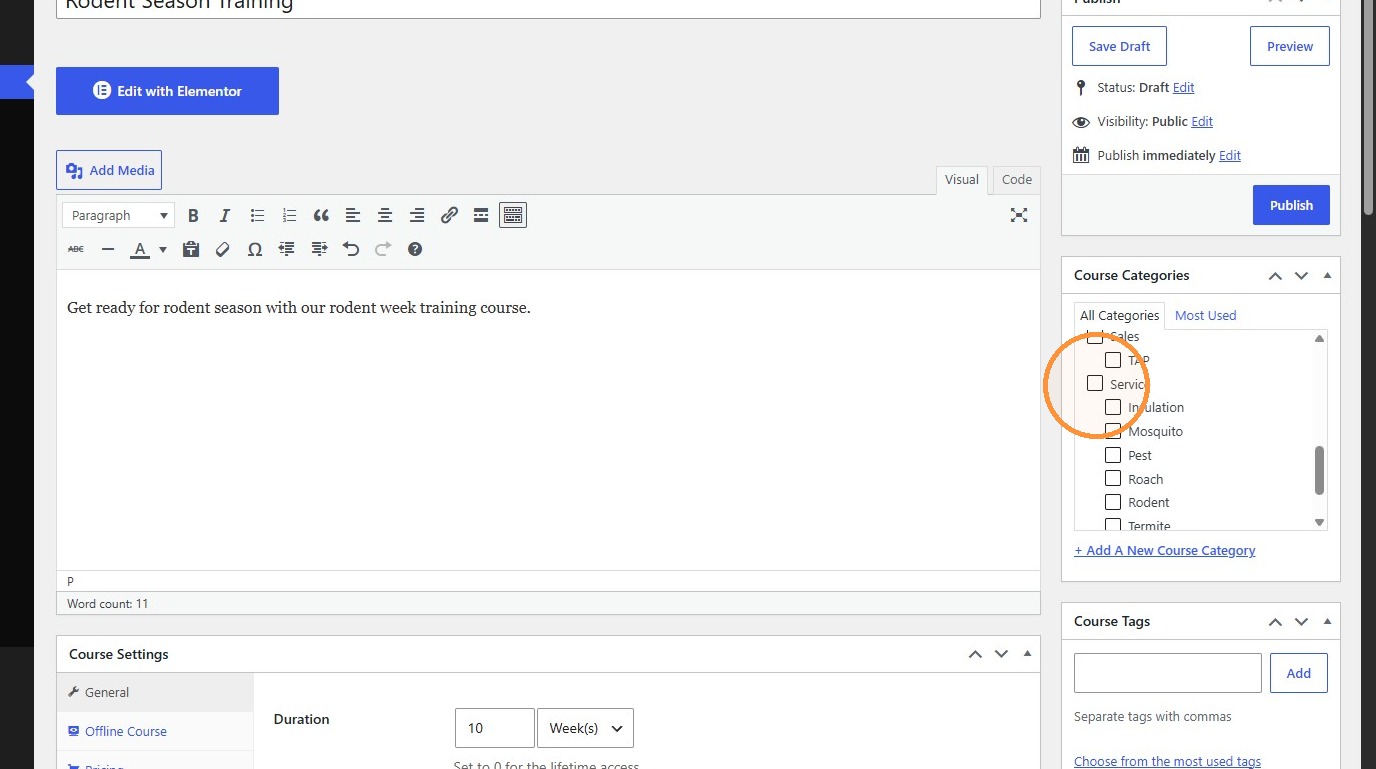
8. Click the “Rodent” field.
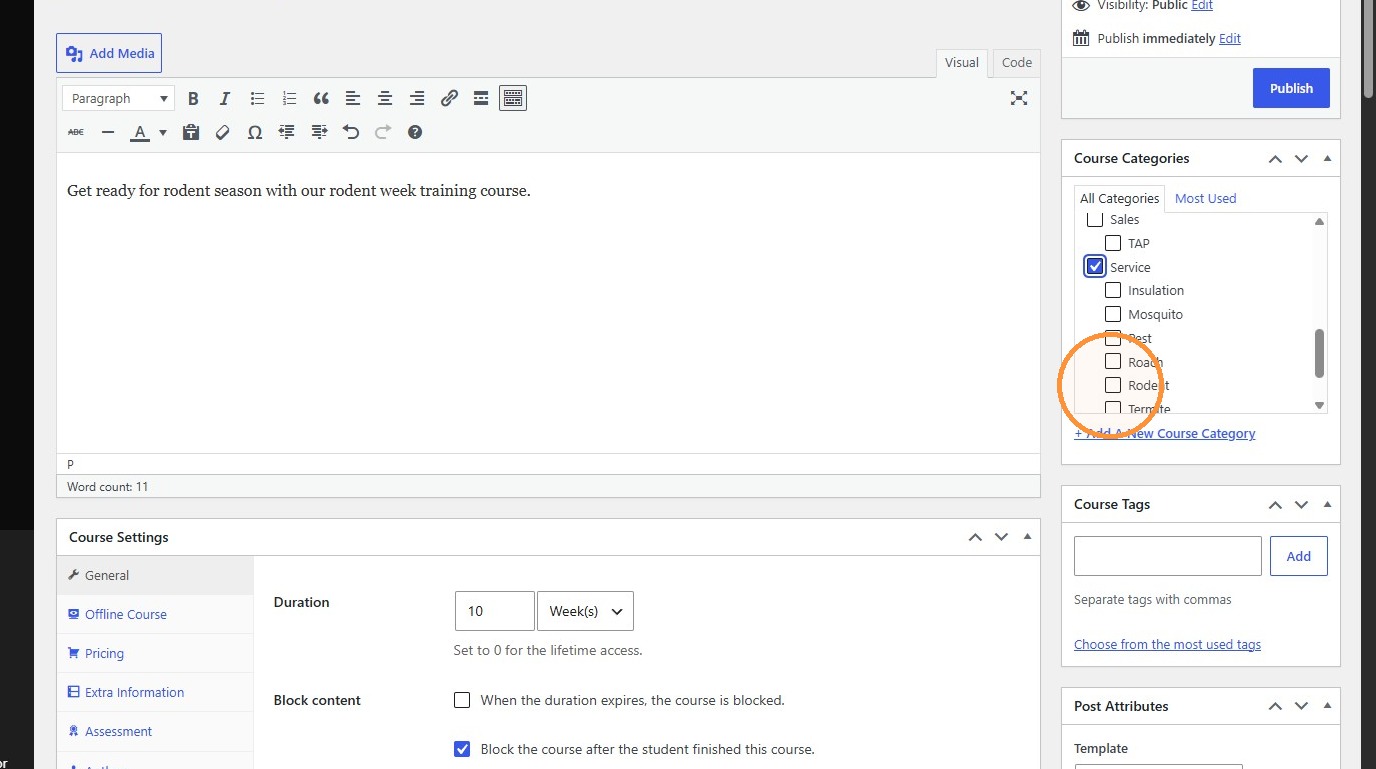
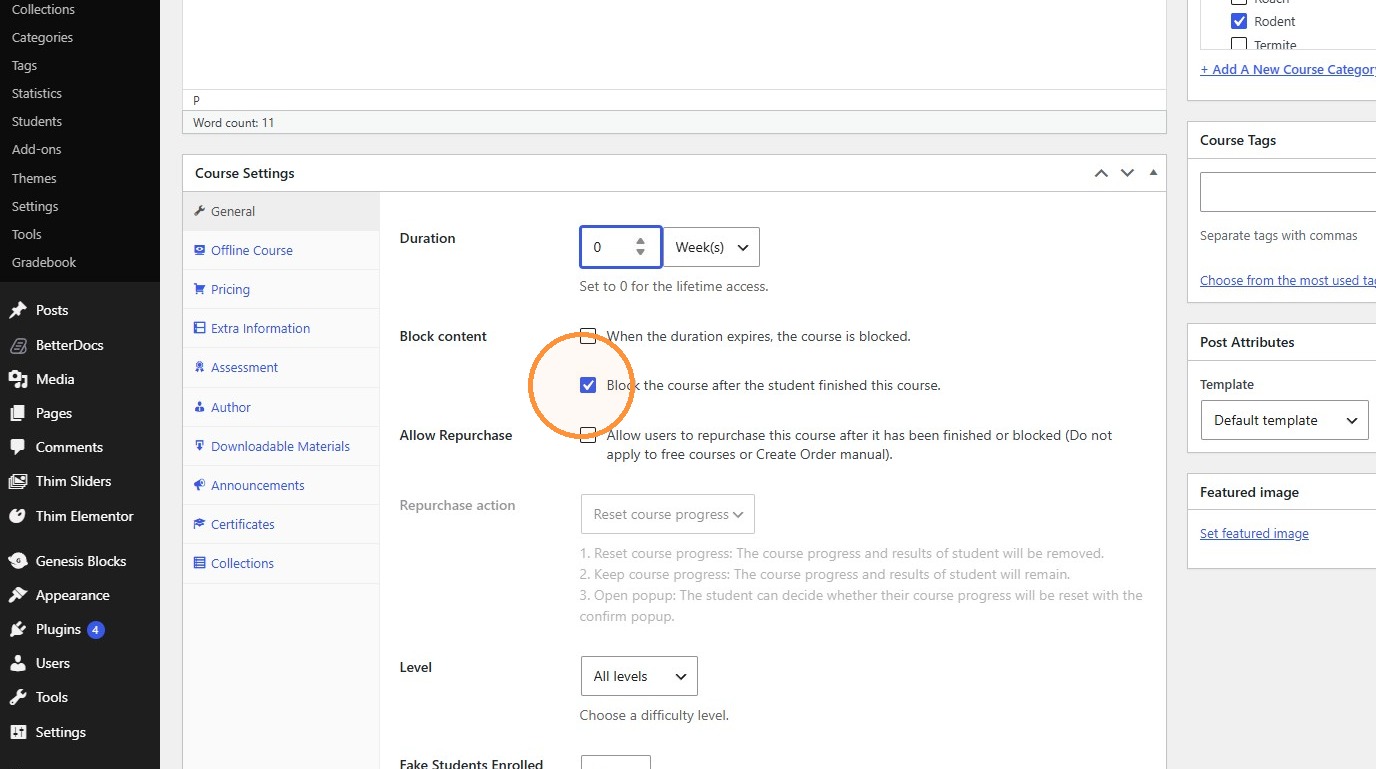
9. Set the course duration to 0 weeks.
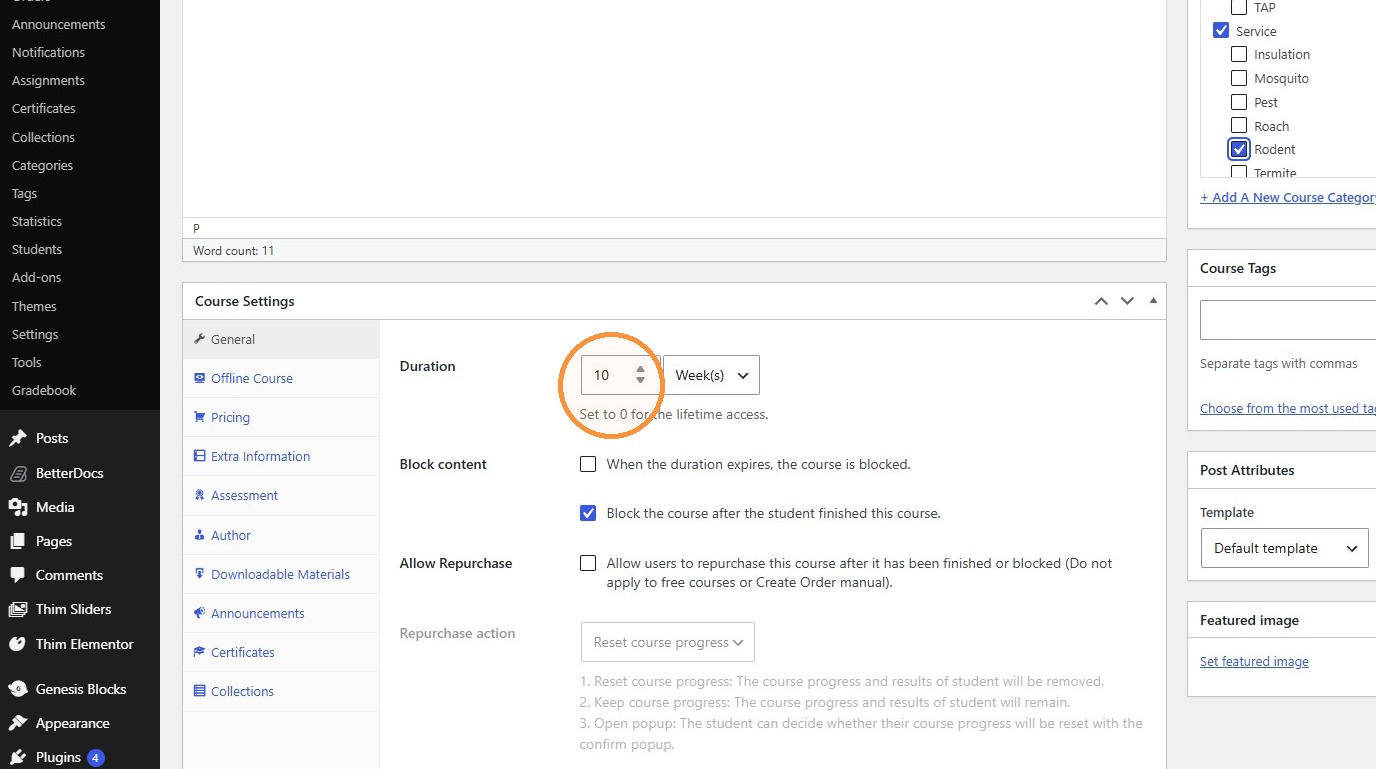
10. Select “Block the course after the student finished this course.”
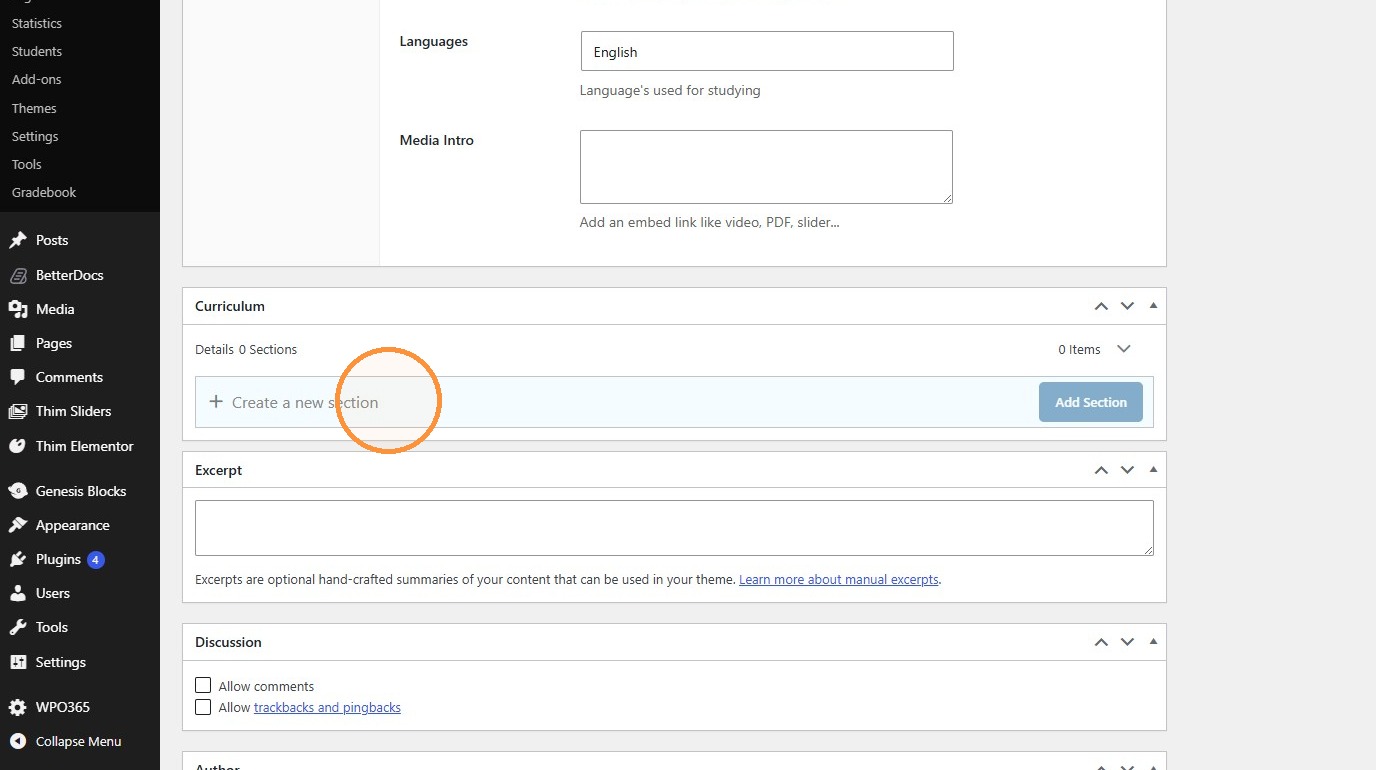
11. Click “Create a new section.”
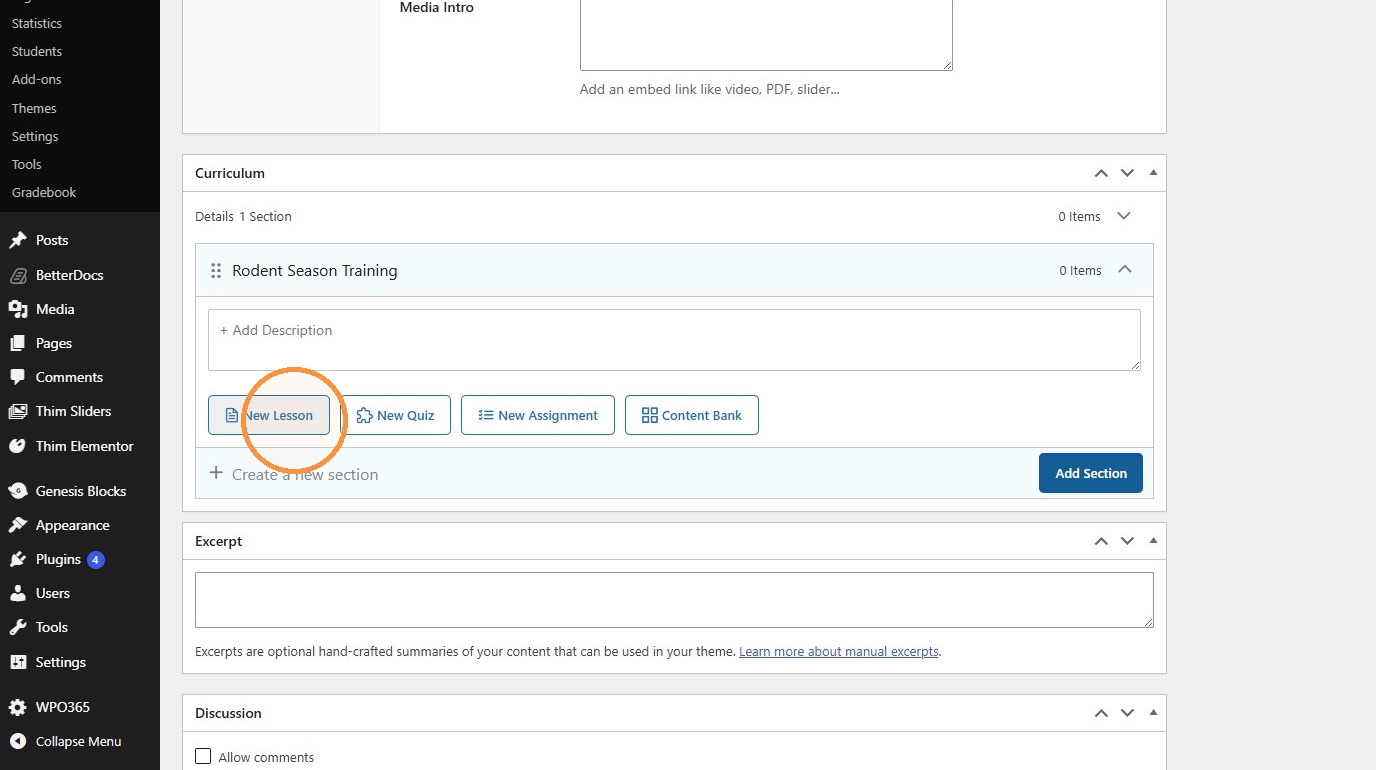
12. Click “New Lesson”
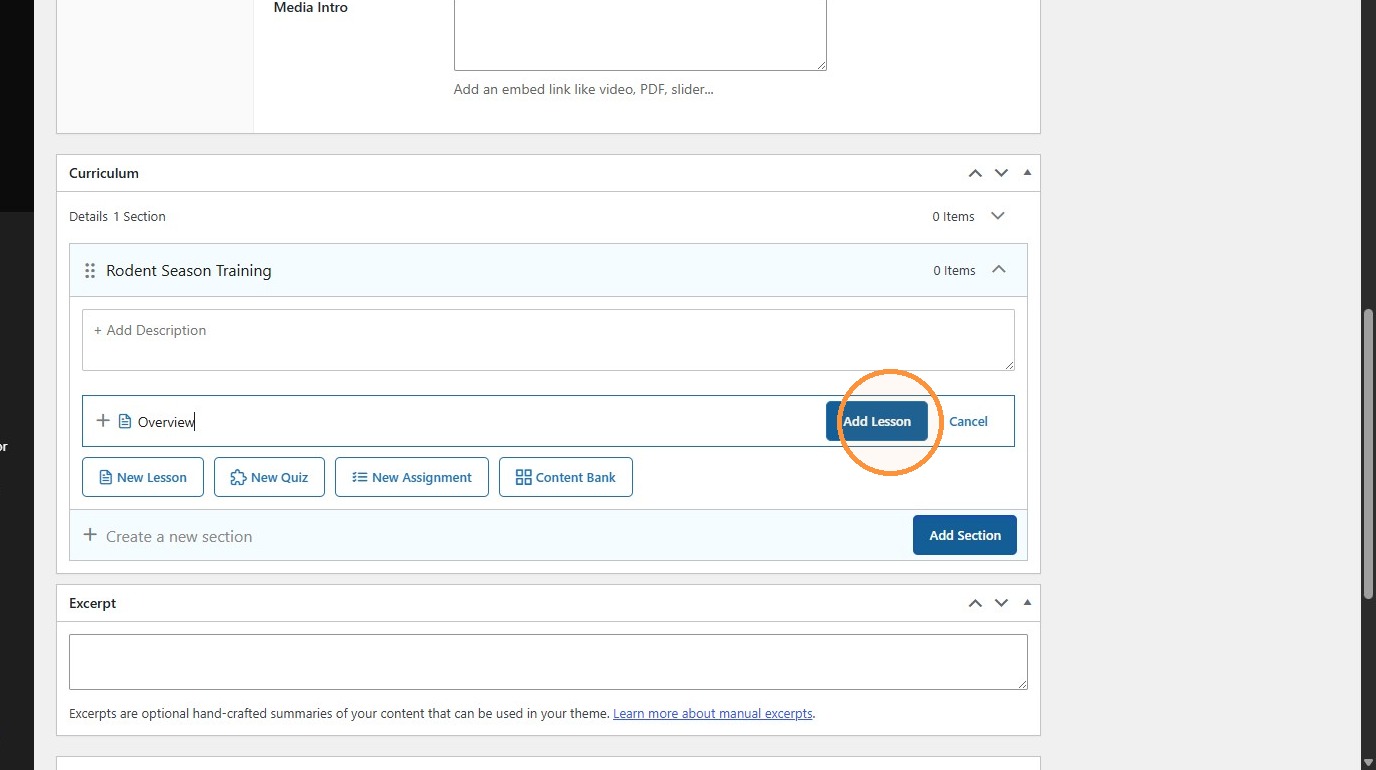
13. Type “Overview”
14. Click “Add Lesson”
15. Click “New Lesson”
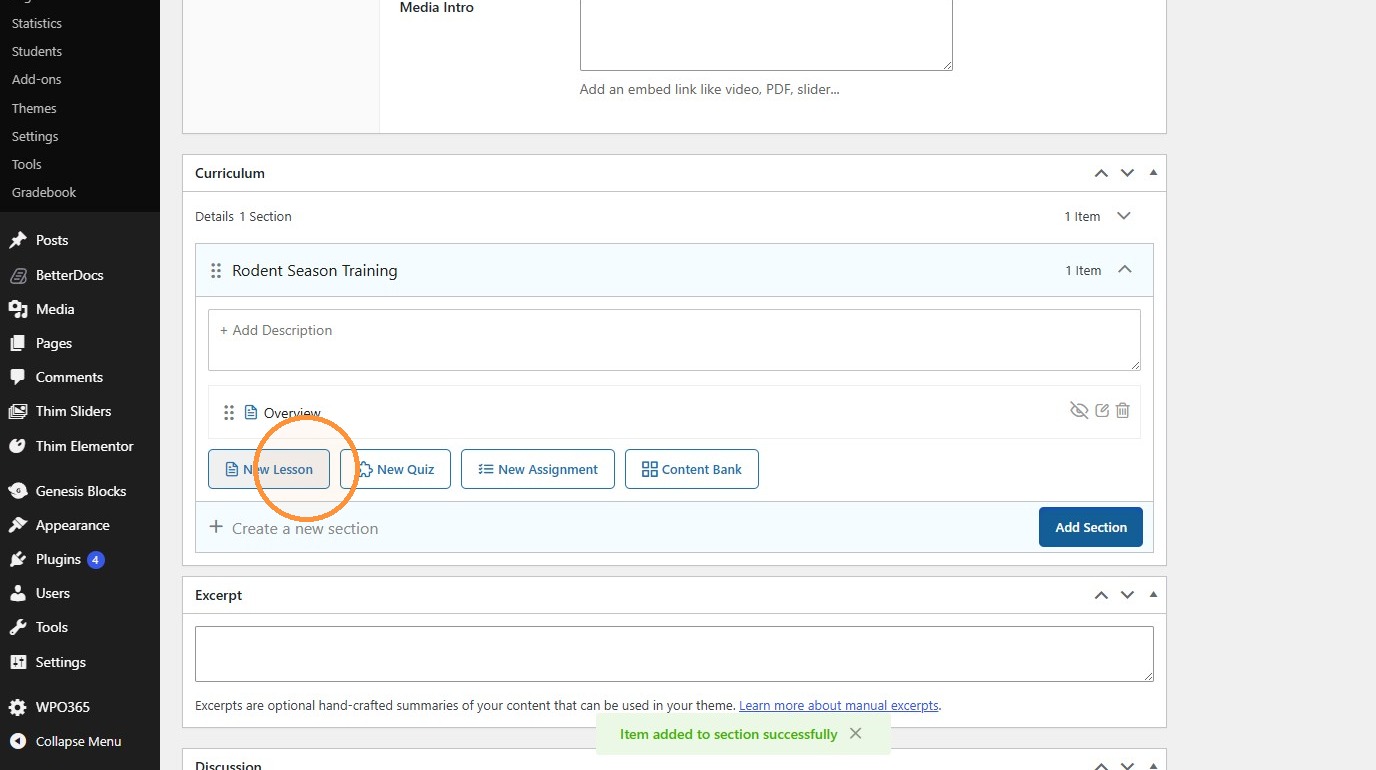
16. Type “Equipment”
17. Click “Add Lesson”
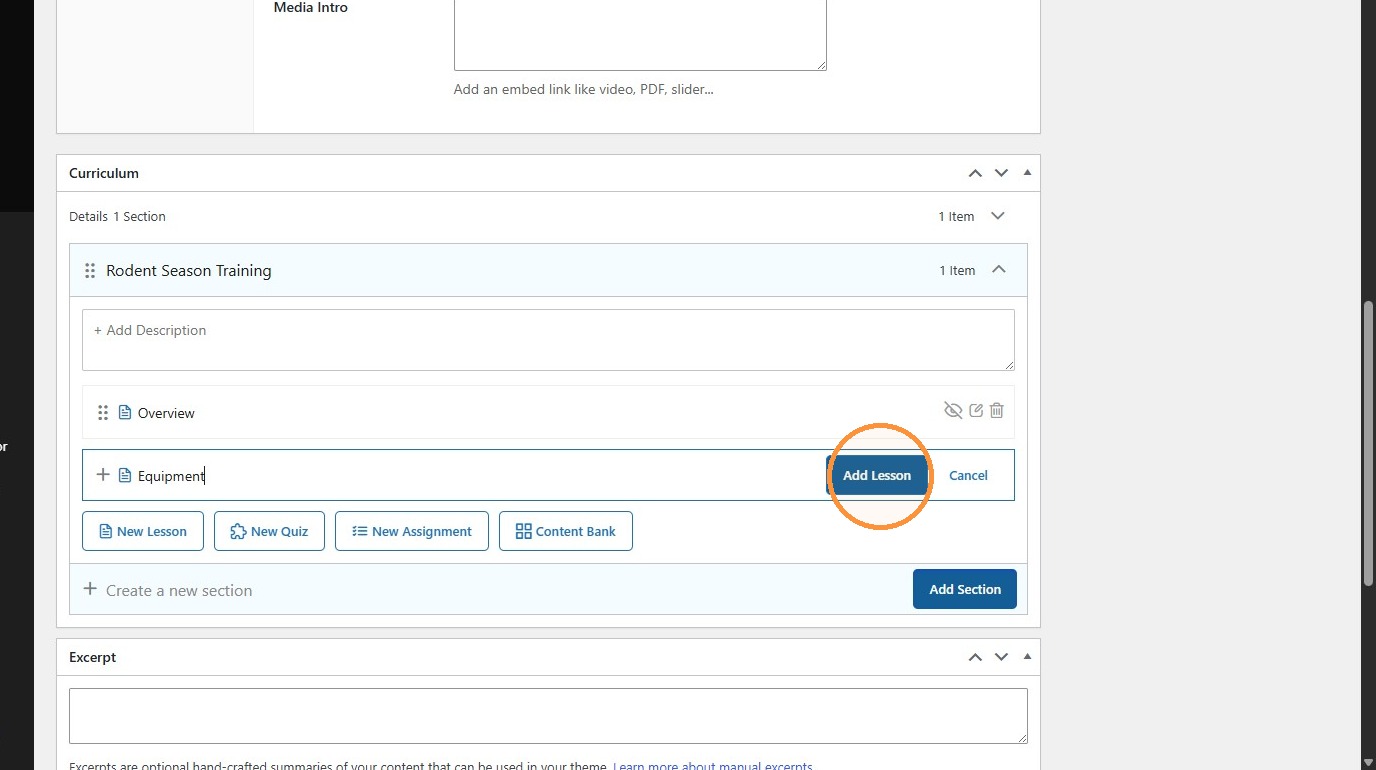
18. Click “New Lesson”
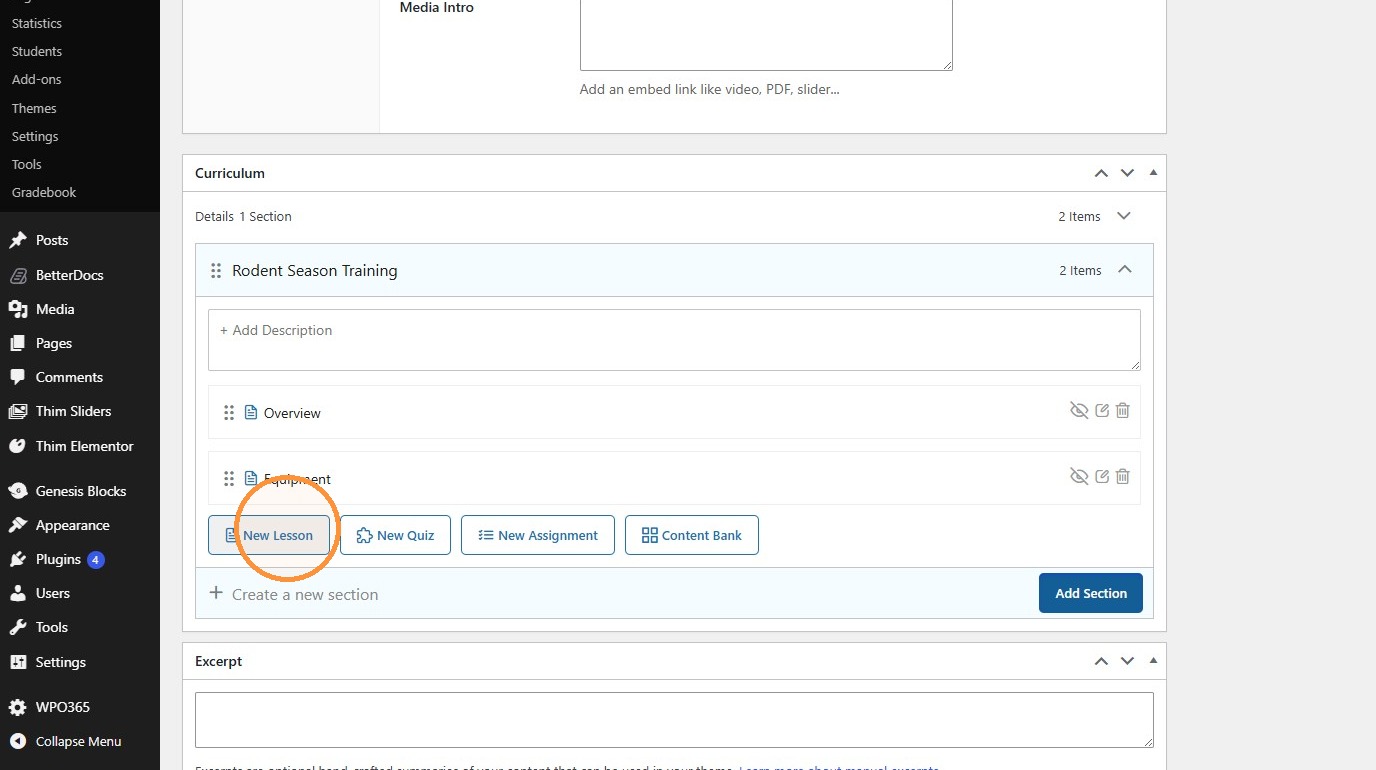
19. Type “Pricing, Sales, and Payment”
20. Click “Add Lesson”
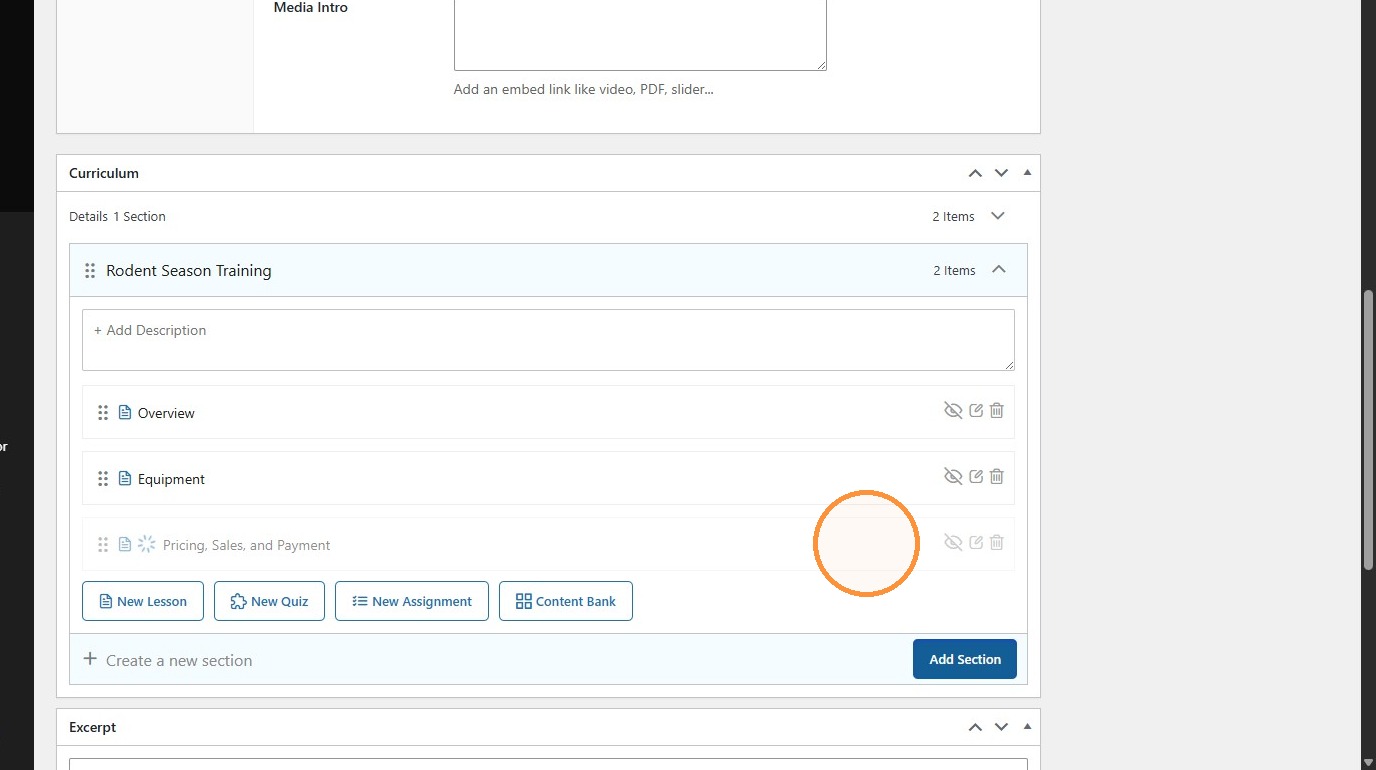
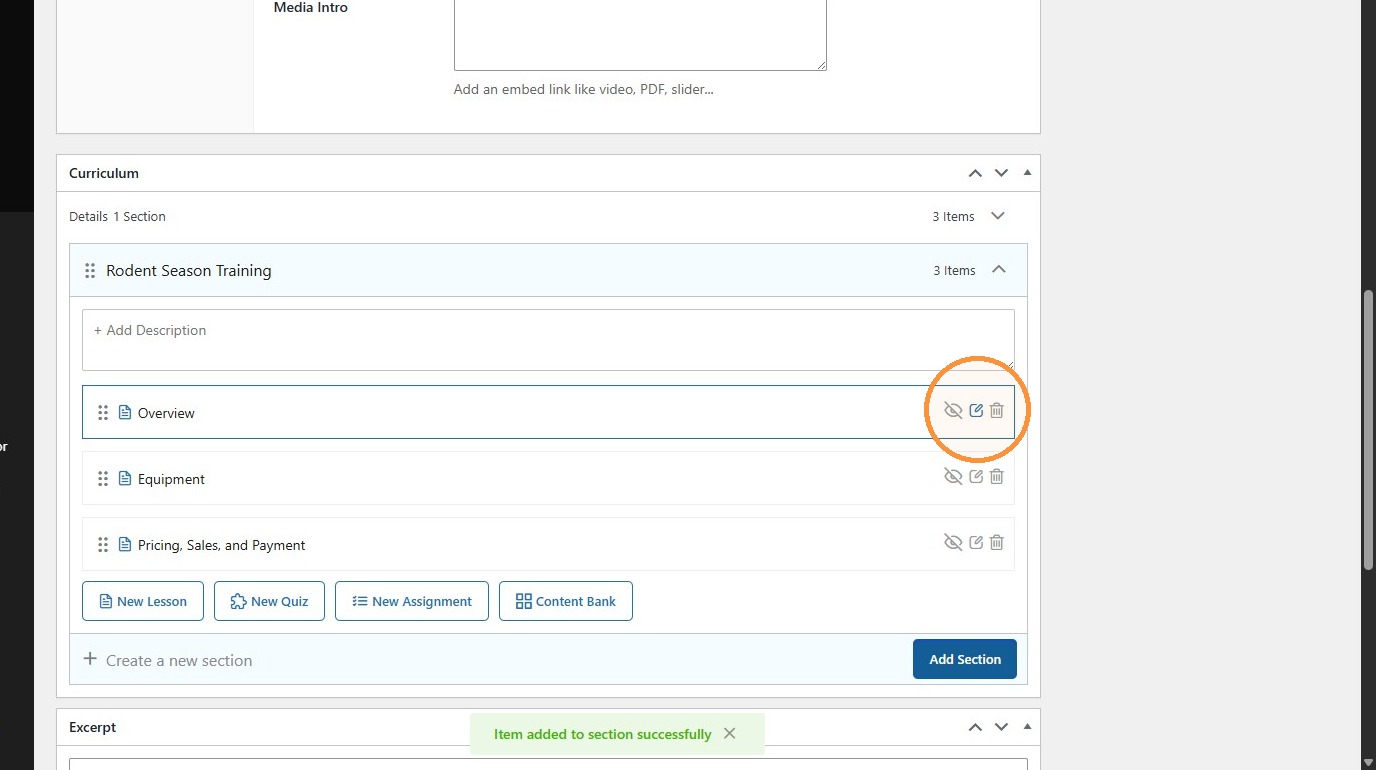
21. Click the lesson row action icon for “Overview.”
Lesson Media #
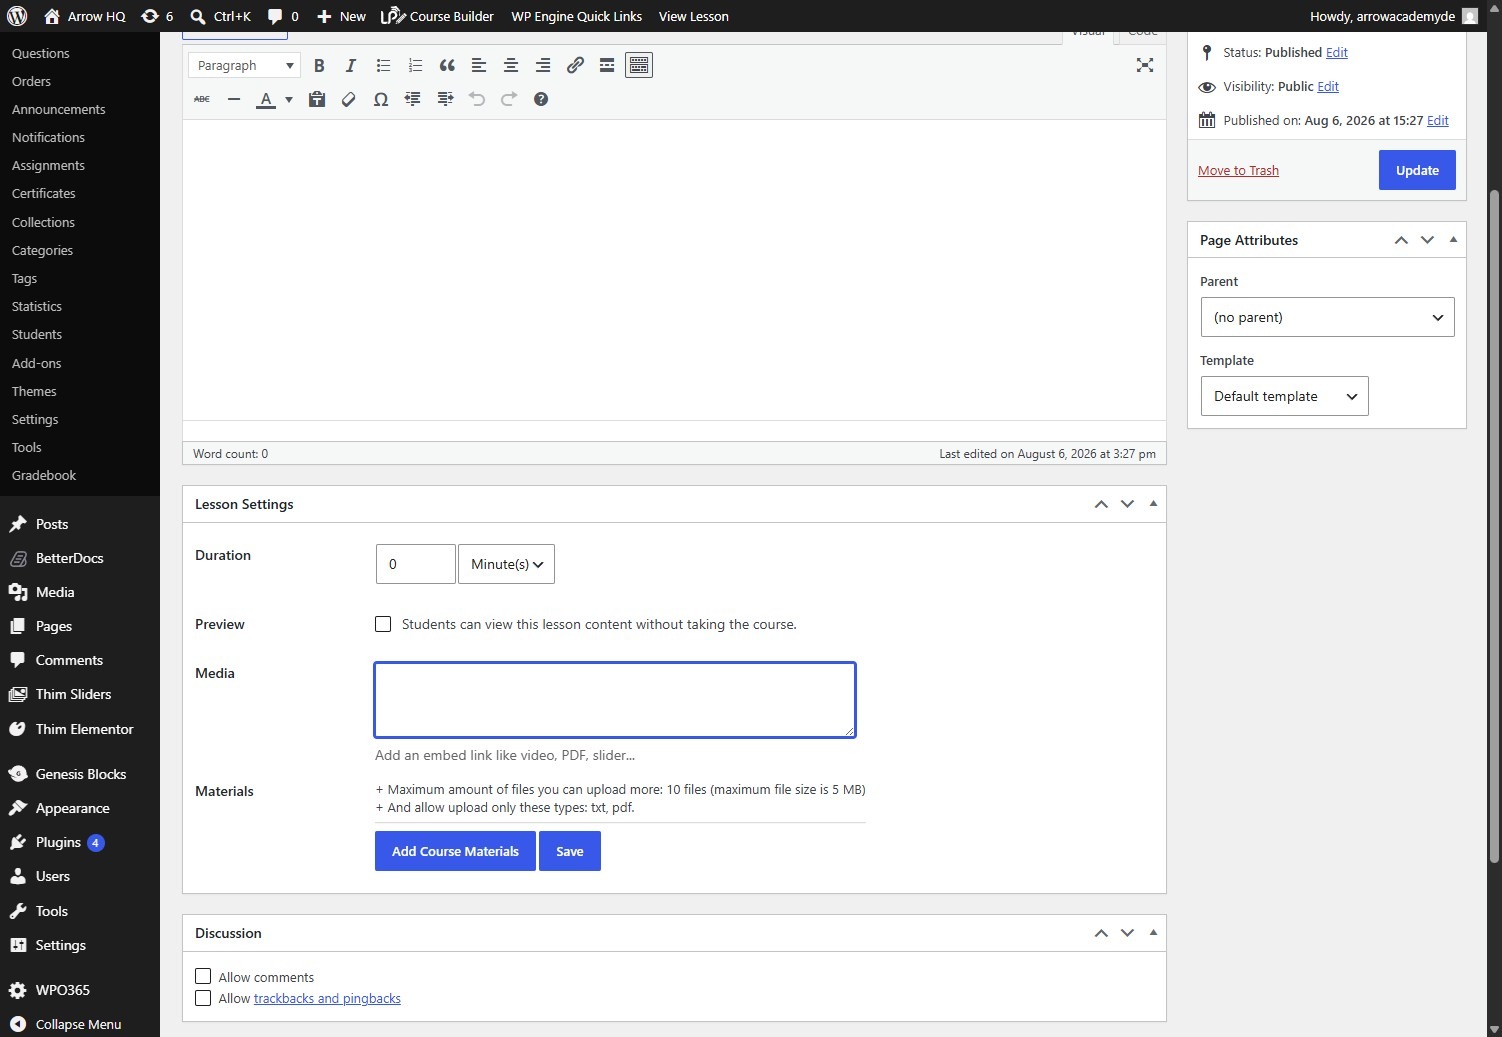
22. Switch to tab Edit Lesson “Overview” ‹ Arrow HQ — WordPress”
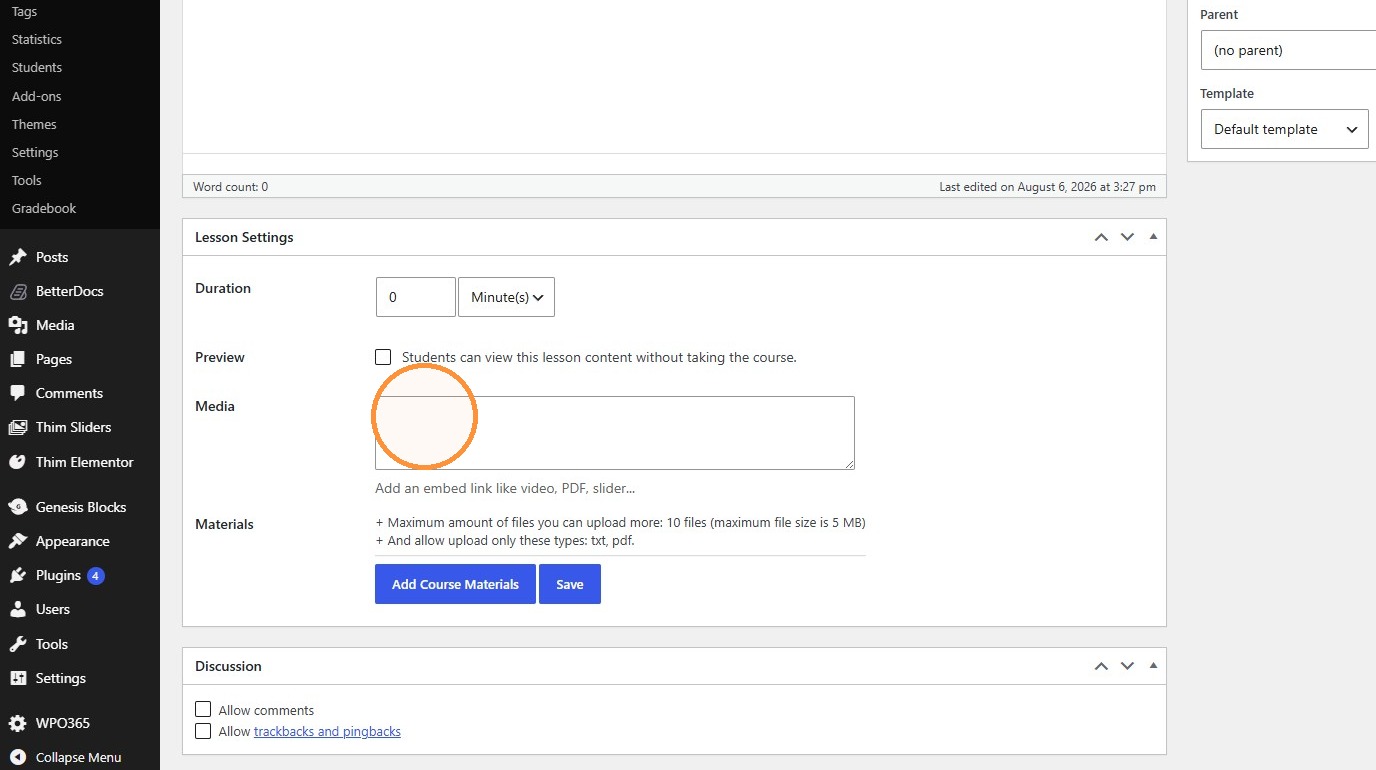
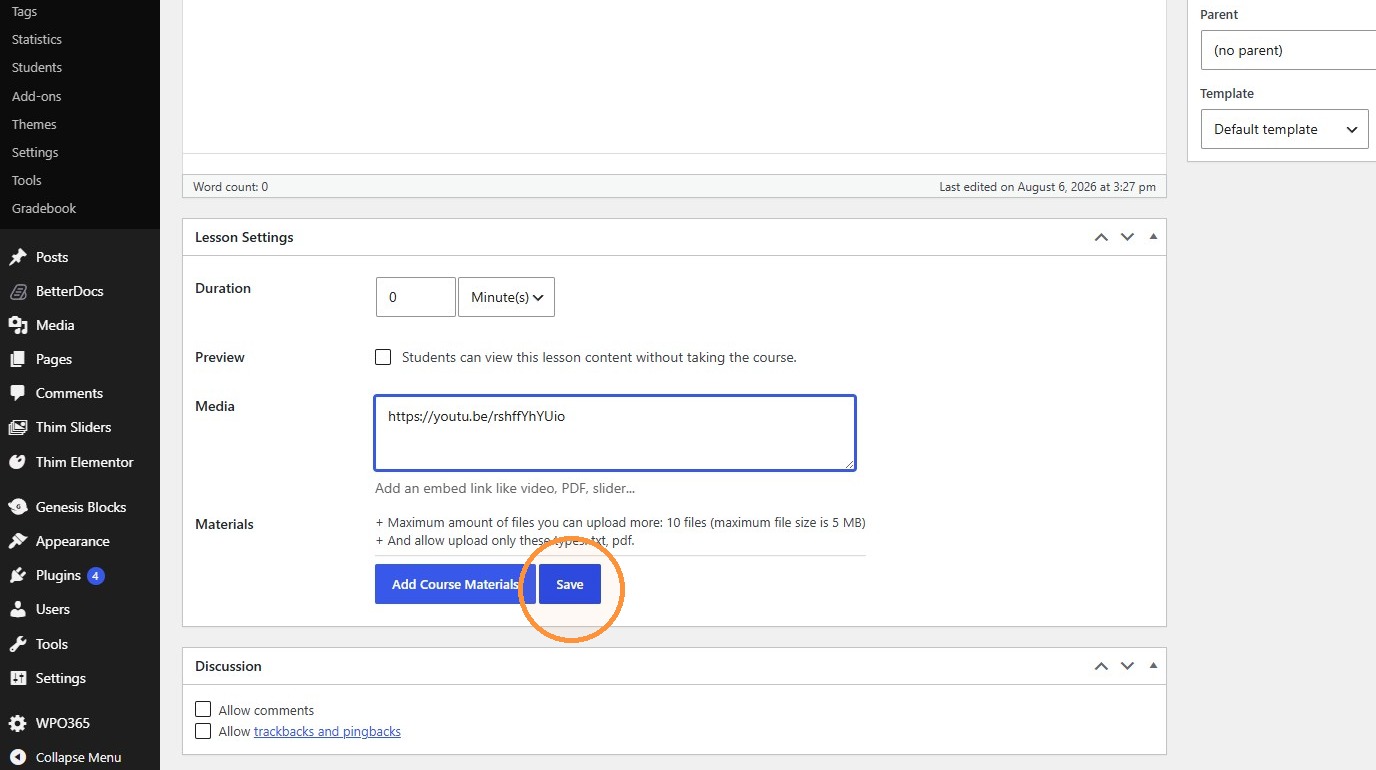
23. Enter the Overview lesson media URL and save it.
24. Click the lesson content editor.
25. Type “Introduction to rodent season, rodent biology, threats, damage, inspection techniques, and more.”
26. Click “Submit”
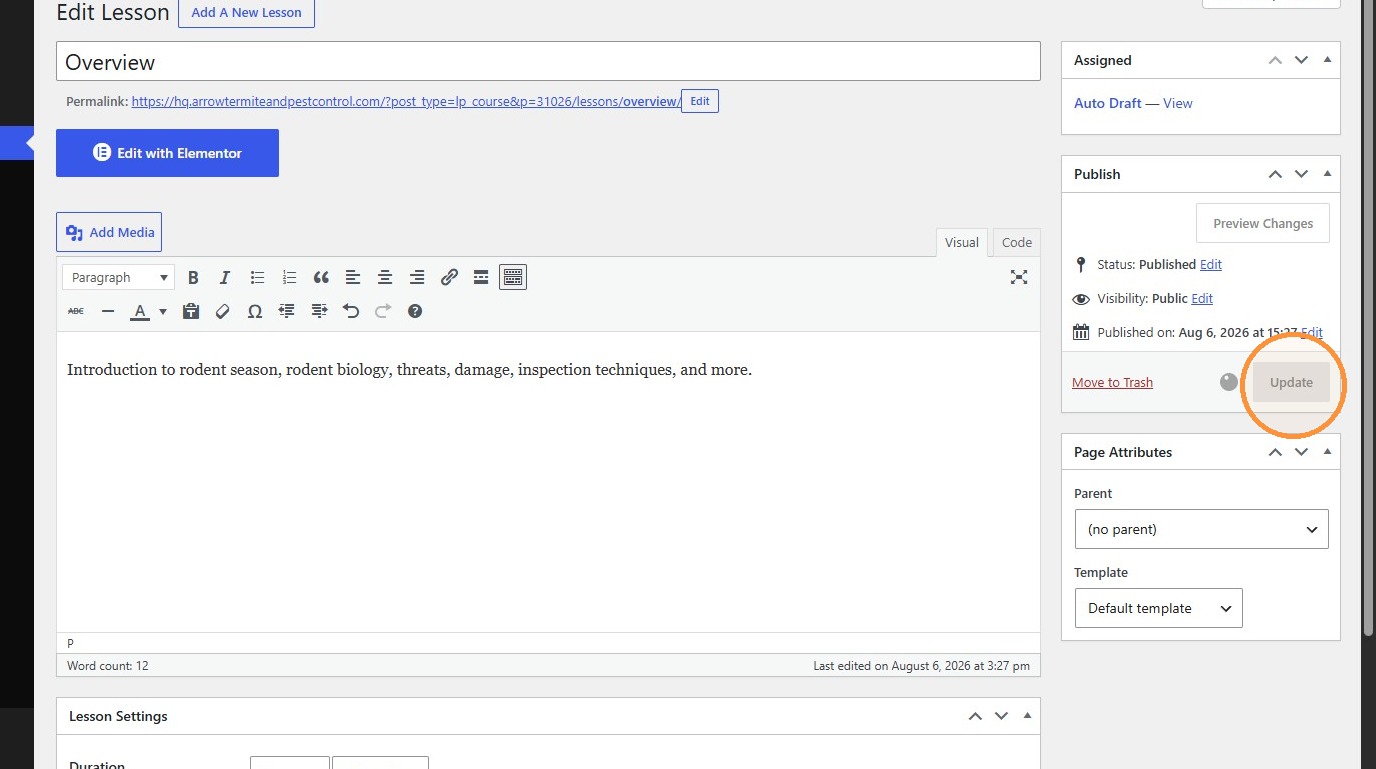
27. Click “overview”
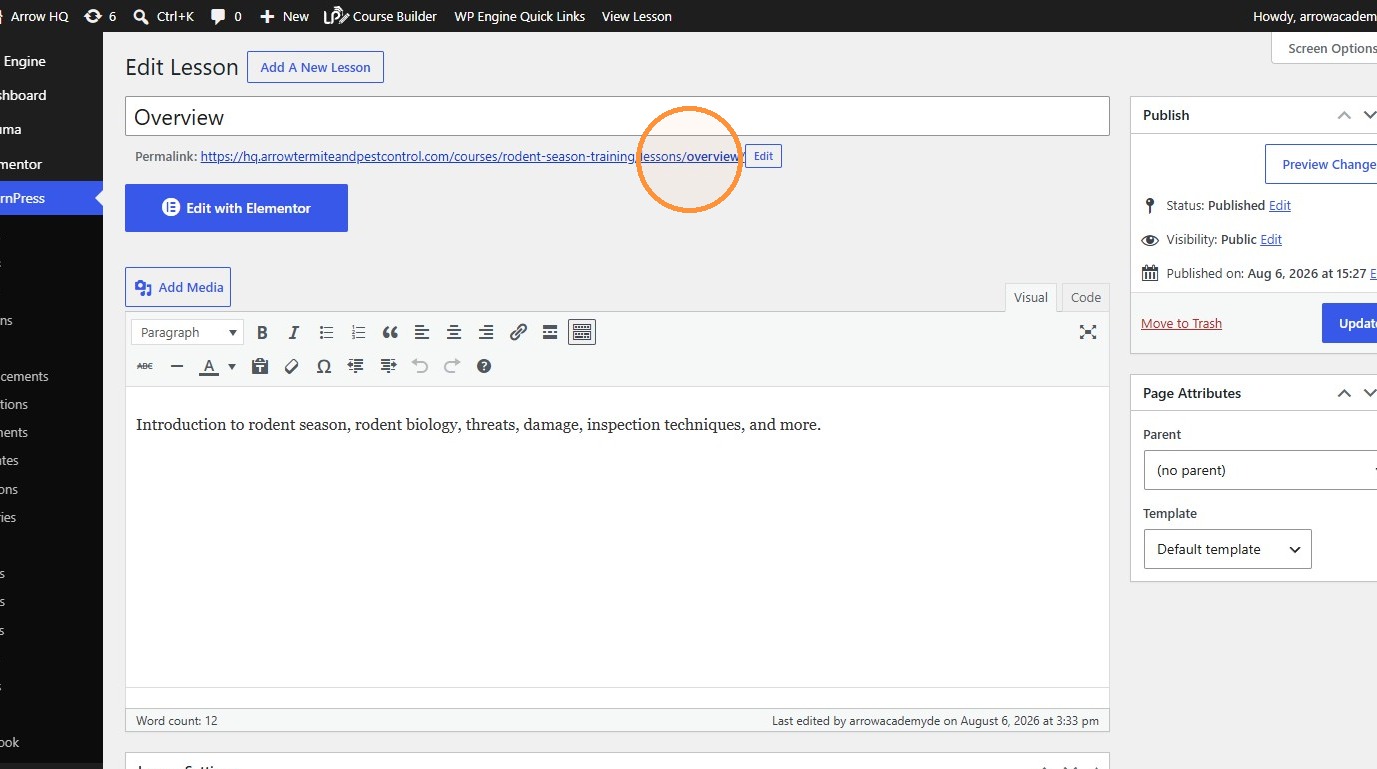
28. Make sure that the lesson published correctly.
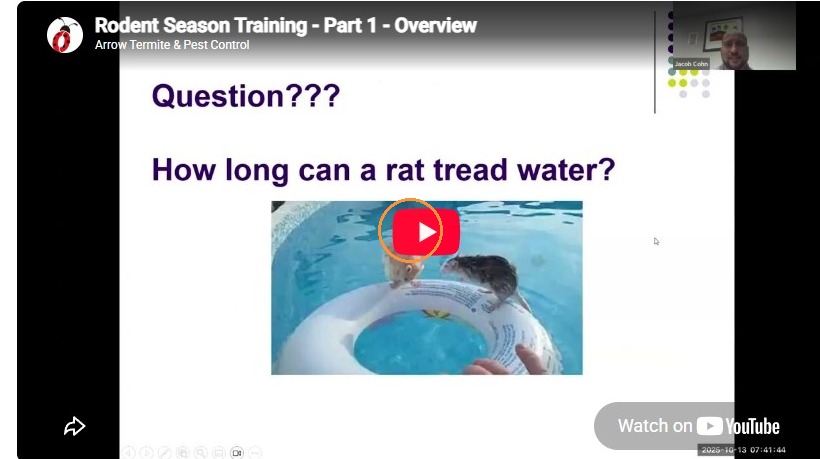
29. Switch to tab Add a New Course ‹ Arrow HQ — WordPress”
30. Click the lesson row action icon for “Equipment.”
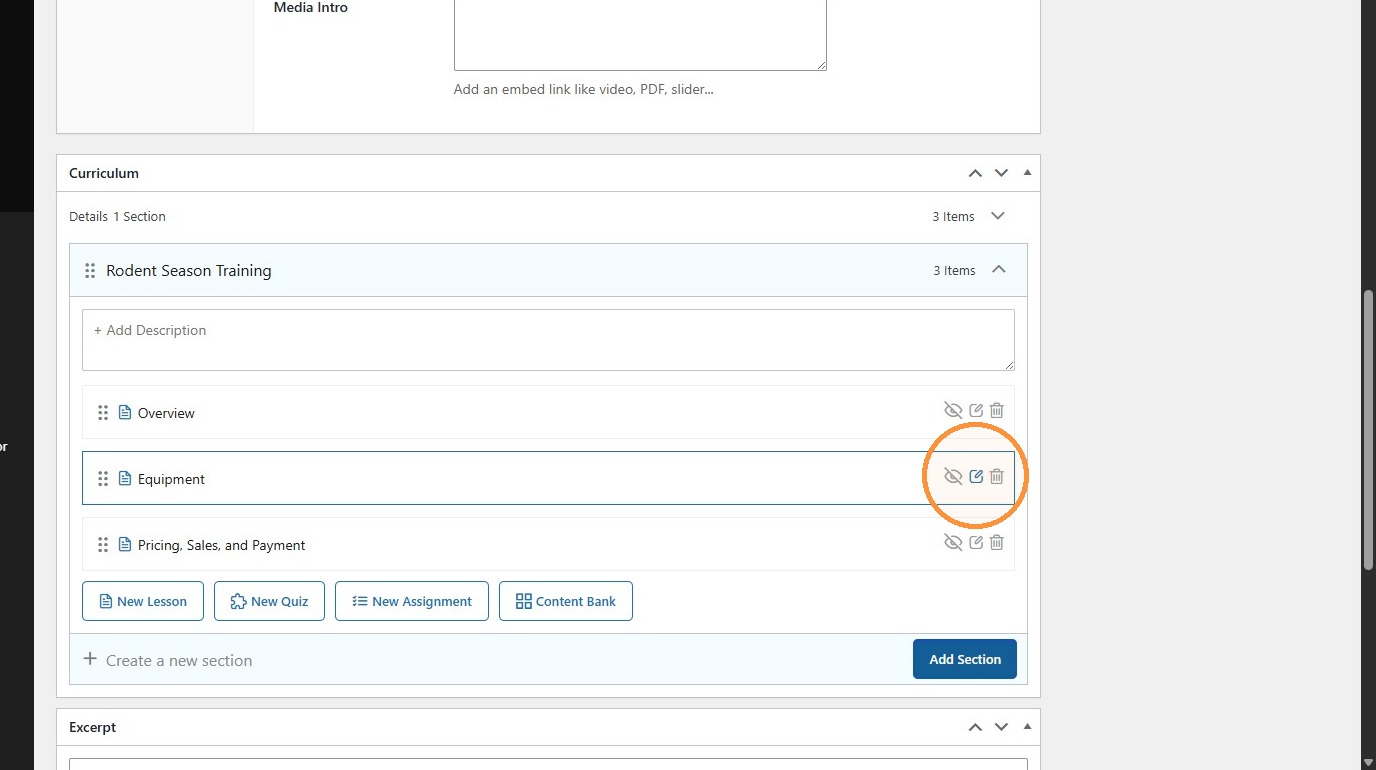
31. Switch to tab Edit Lesson “Equipment” ‹ Arrow HQ — WordPress”
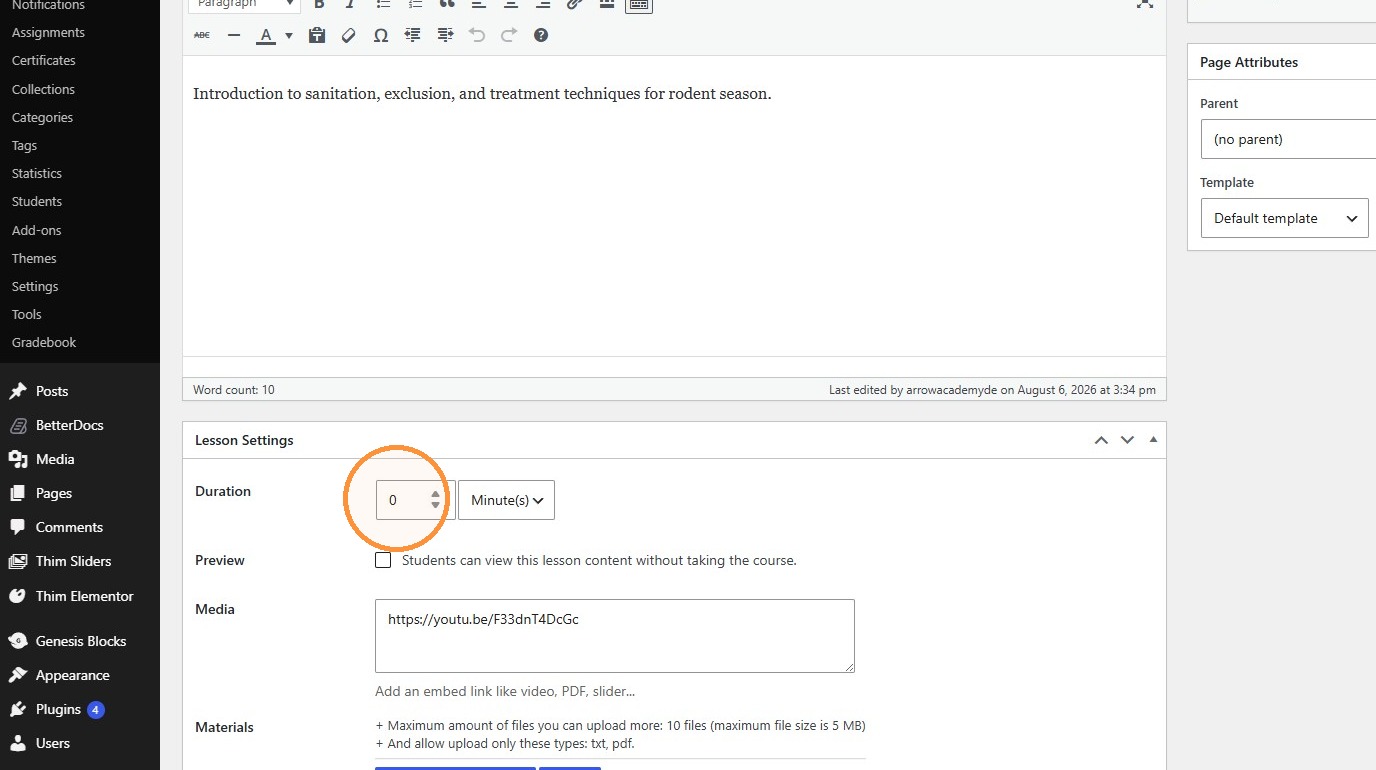
32. Enter the Equipment lesson media URL.
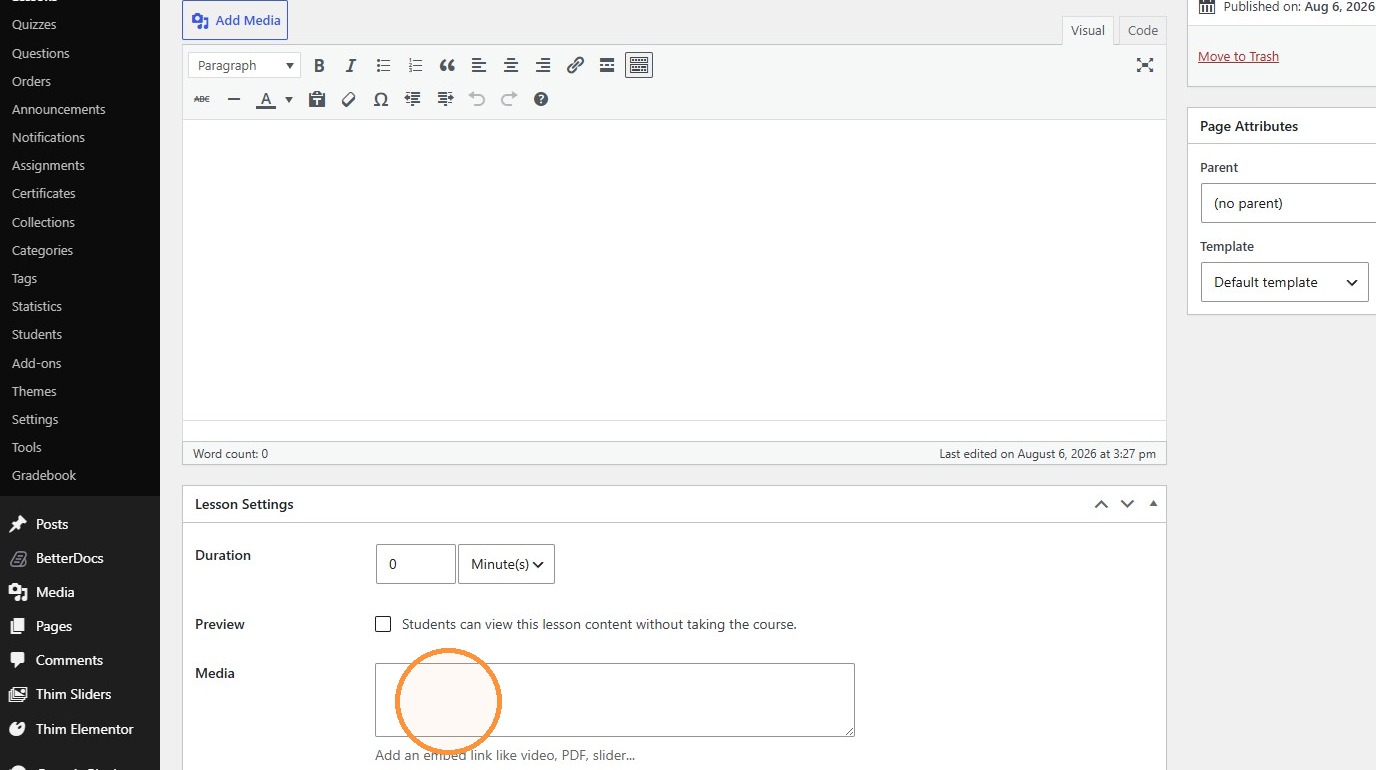
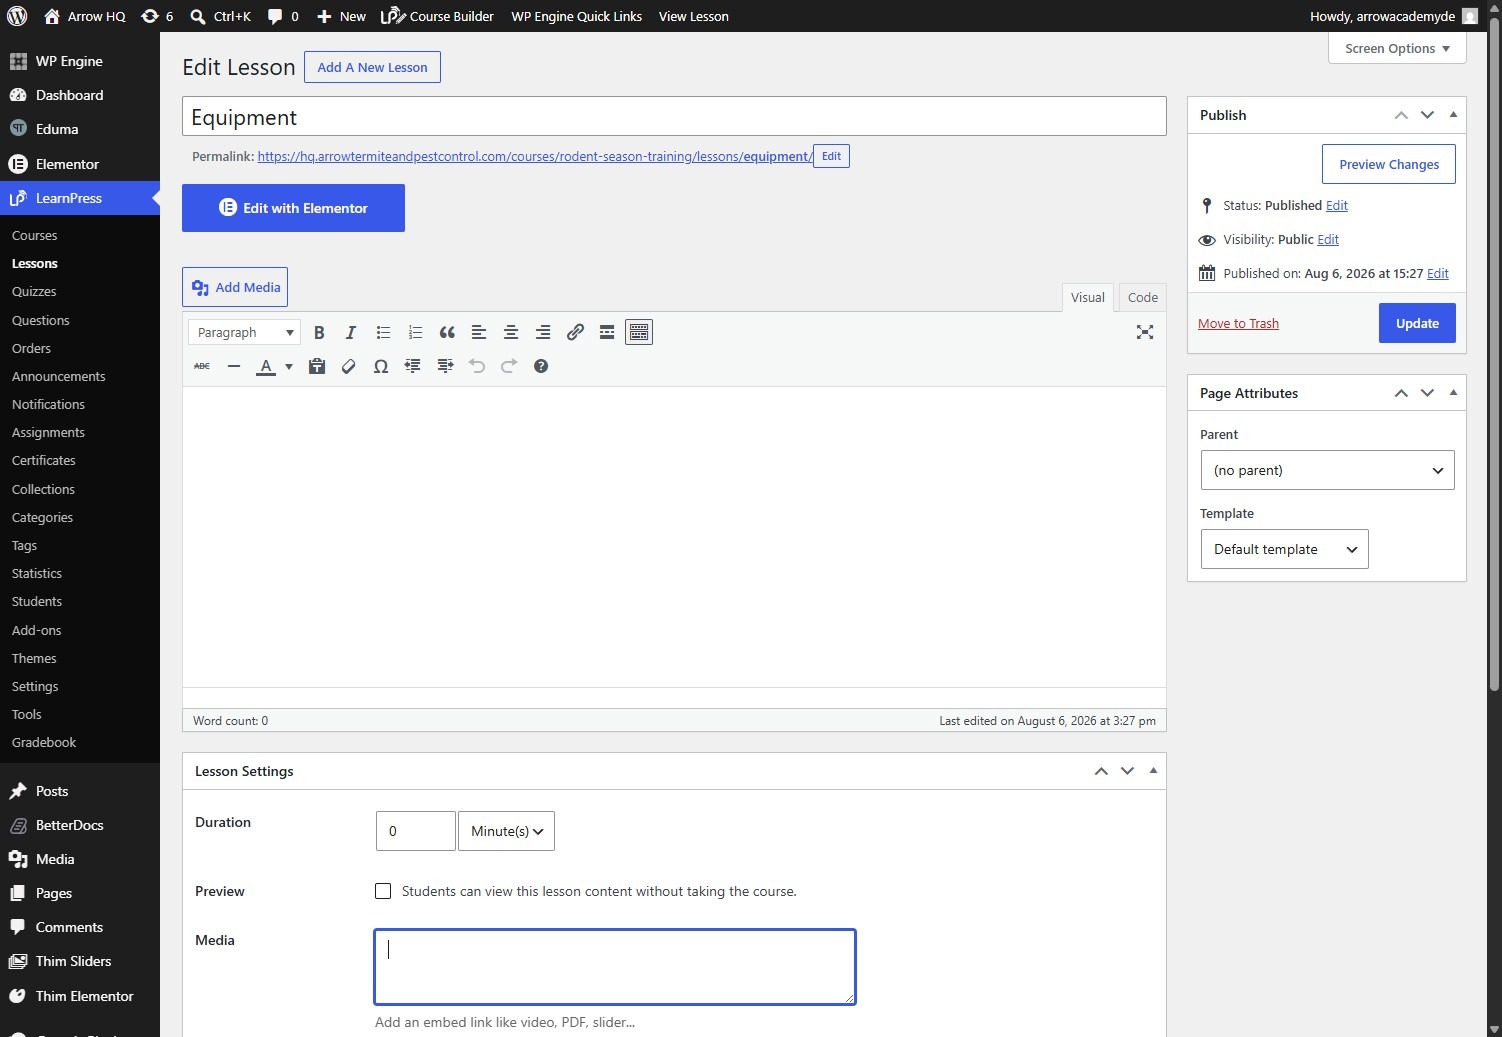
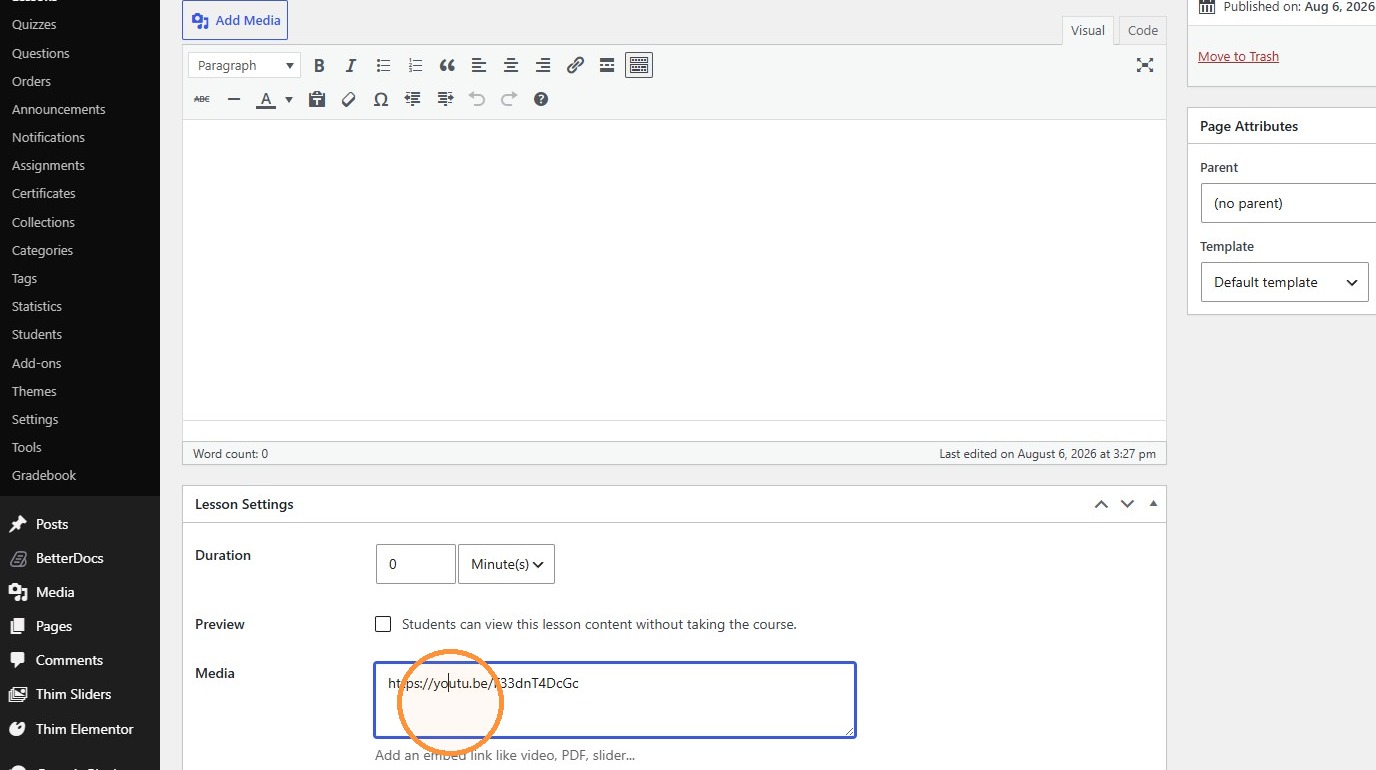

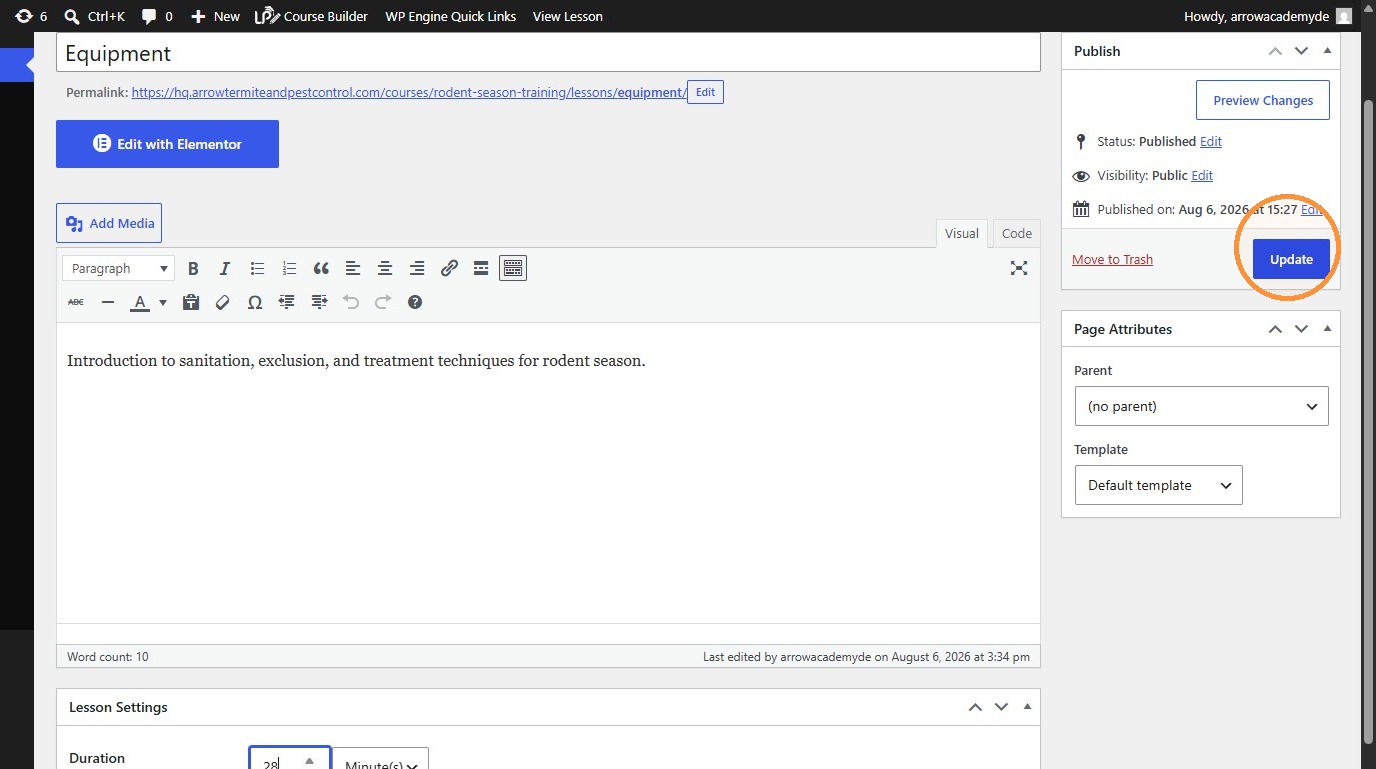
33. Enter the Equipment lesson description, set its duration to 28 minutes, and update it.
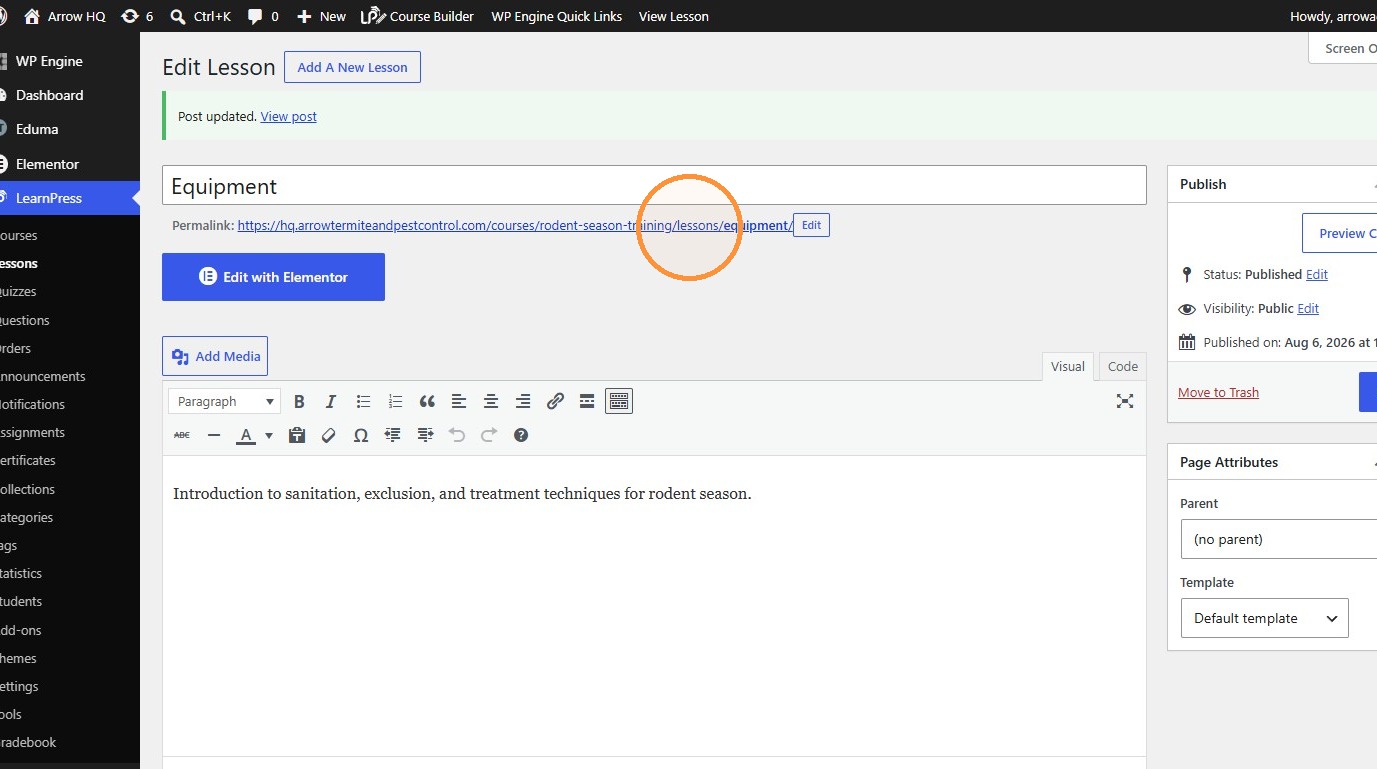
34. Click “https://hq.arrowtermiteandpestcontrol.com/courses/rodent-season-training/lessons/equipment/“
35. Switch to tab Add a New Course ‹ Arrow HQ — WordPress”
36. Click the lesson row action icon for “Pricing, Sales, and Payment.”
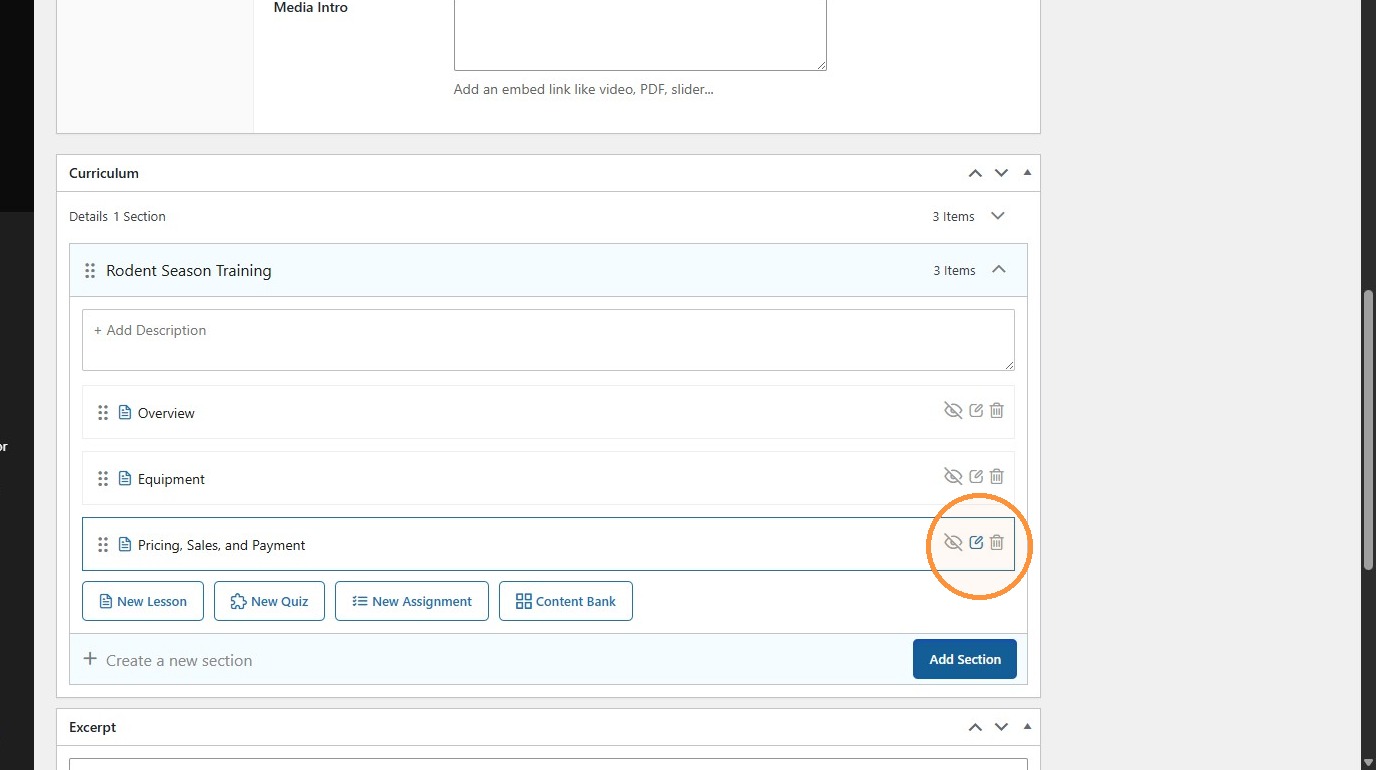
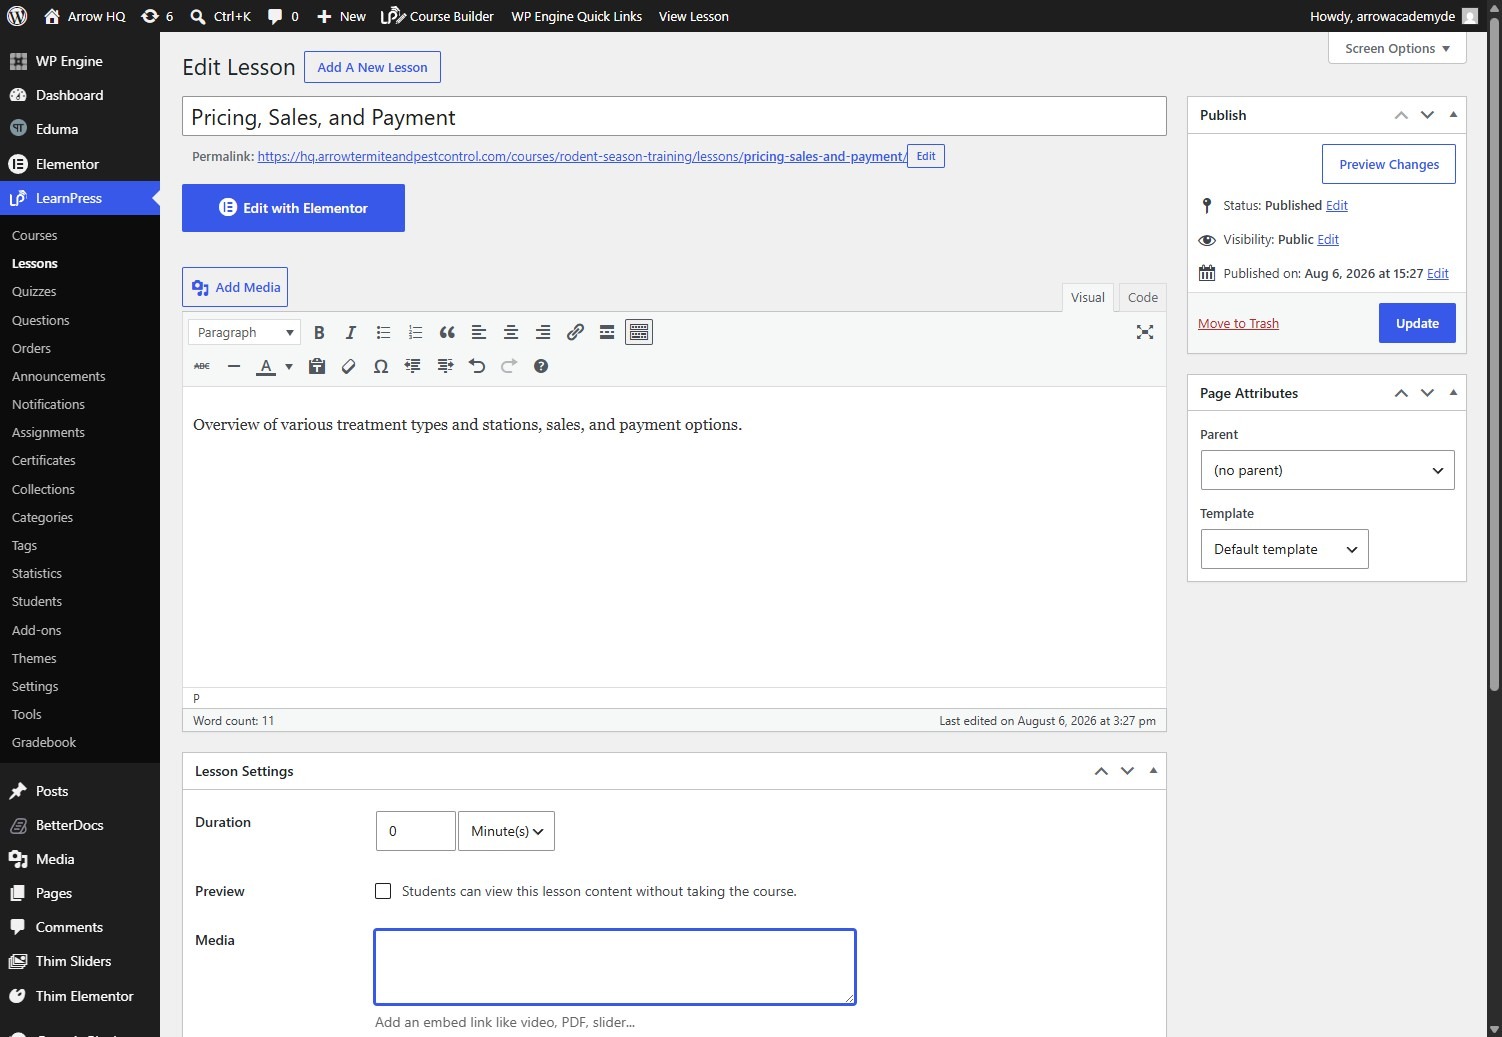
37. Switch to tab Edit Lesson “Pricing, Sales, and Payment” ‹ Arrow HQ — WordPress”
38. Click the lesson content editor.

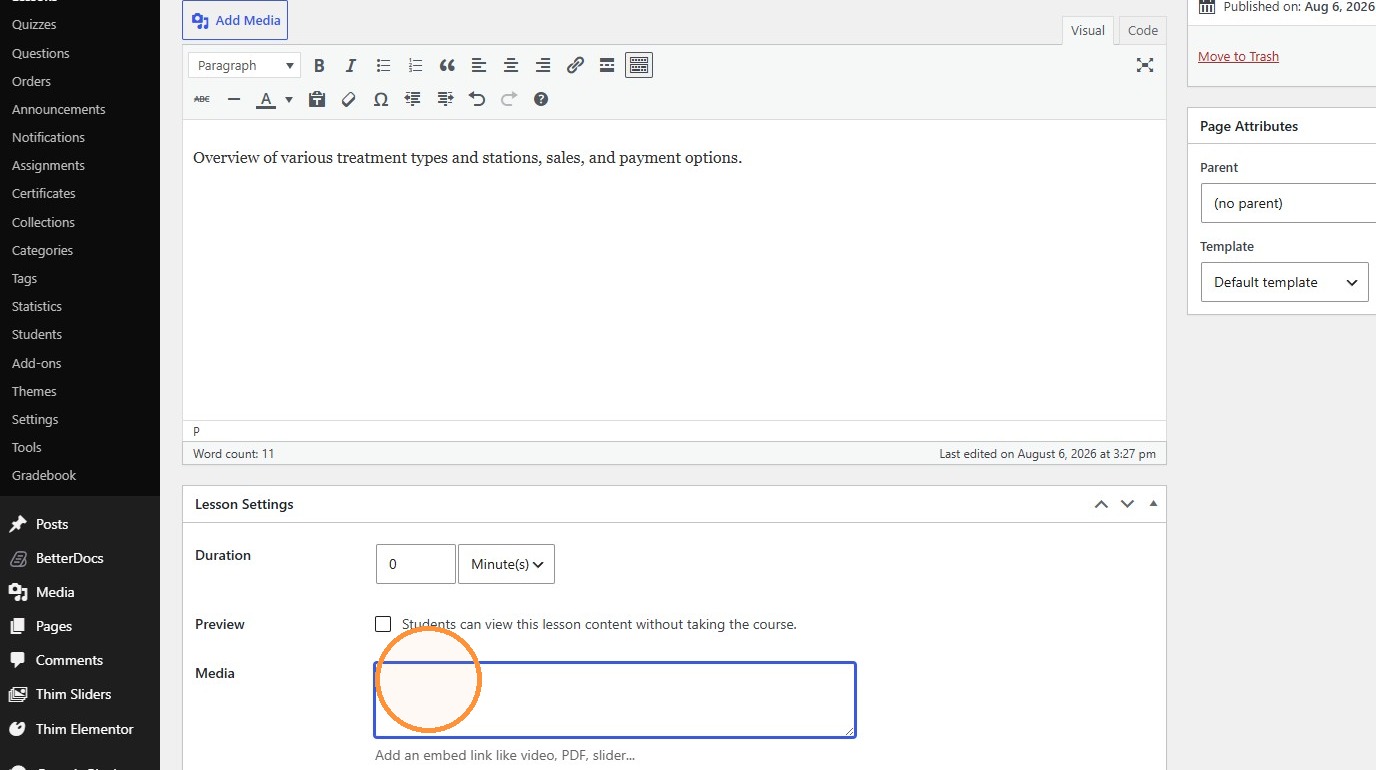
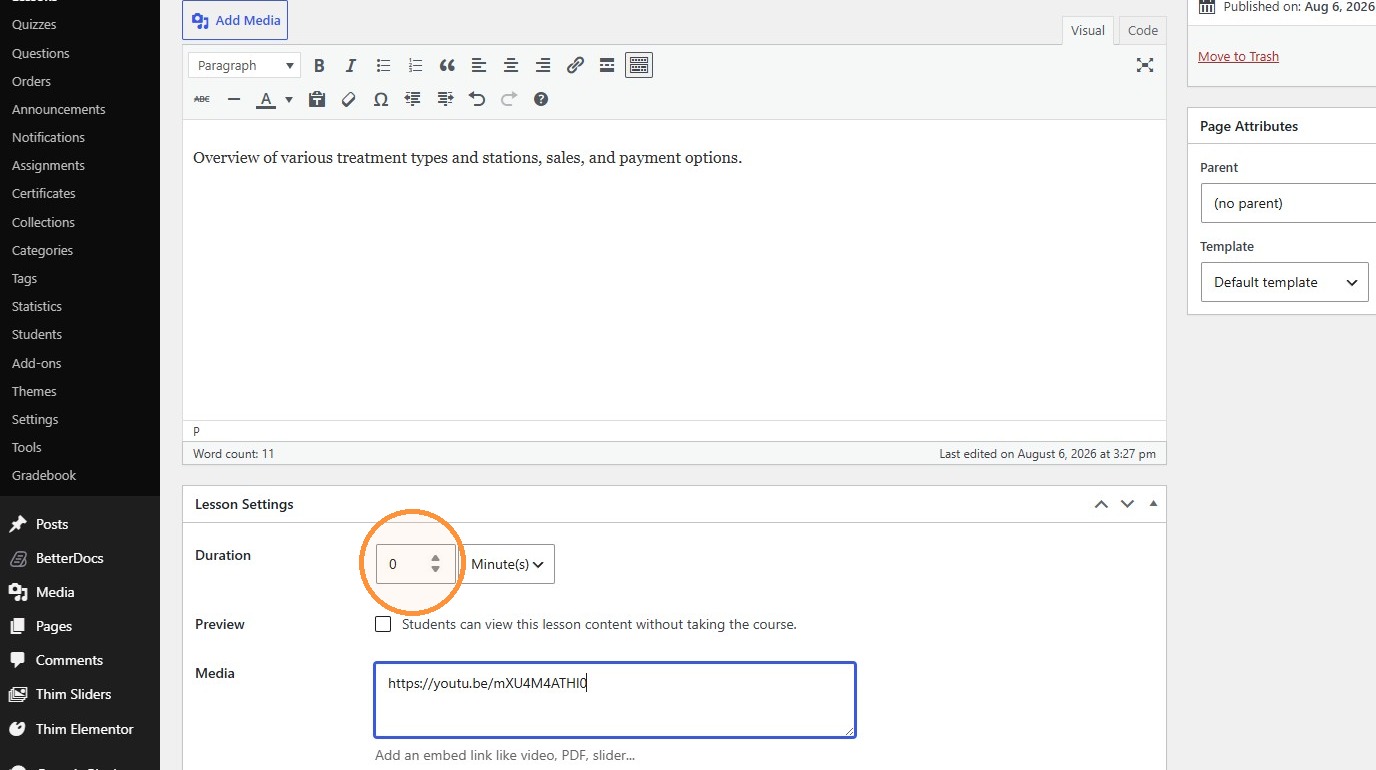
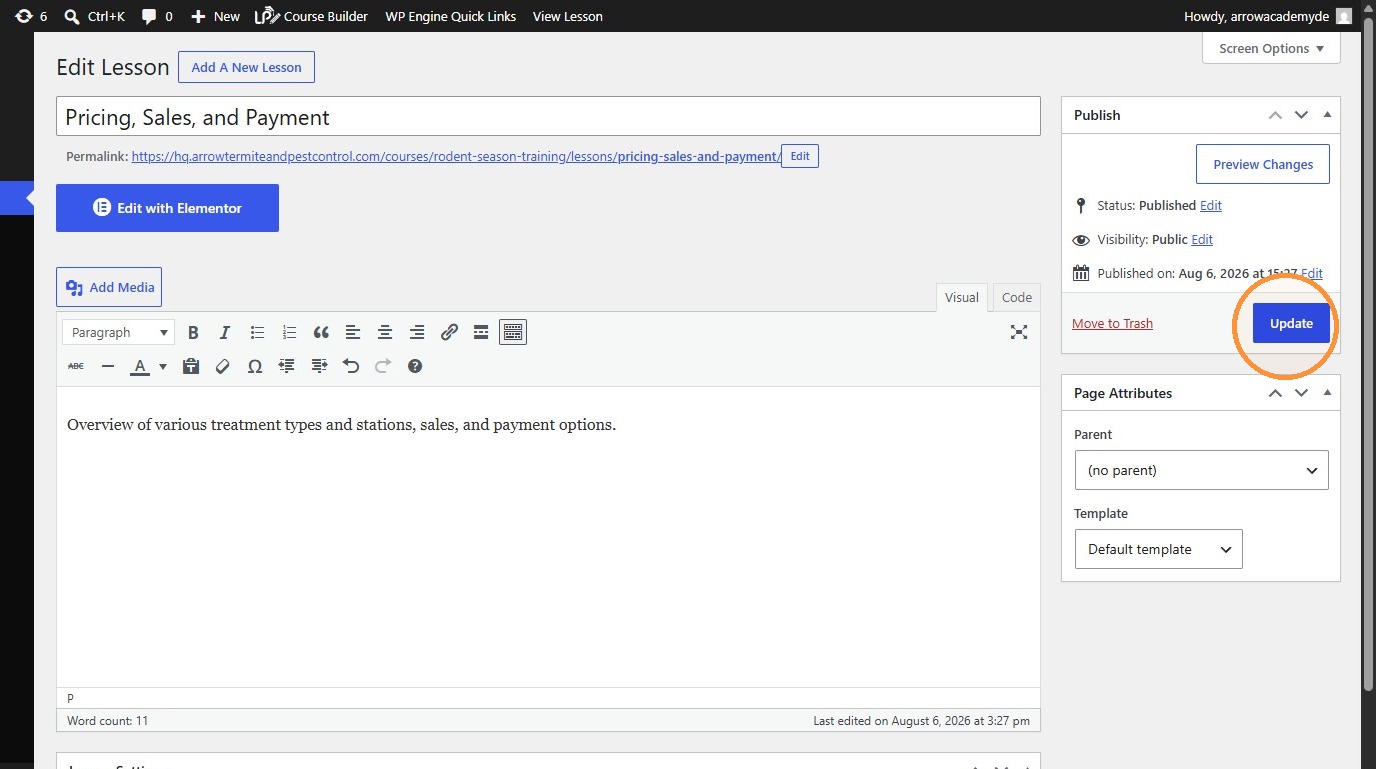
39. Enter the Pricing, Sales, and Payment lesson description, media URL, set its duration to 43 minutes, and update it.
40. Switch to tab Add a New Course ‹ Arrow HQ — WordPress”
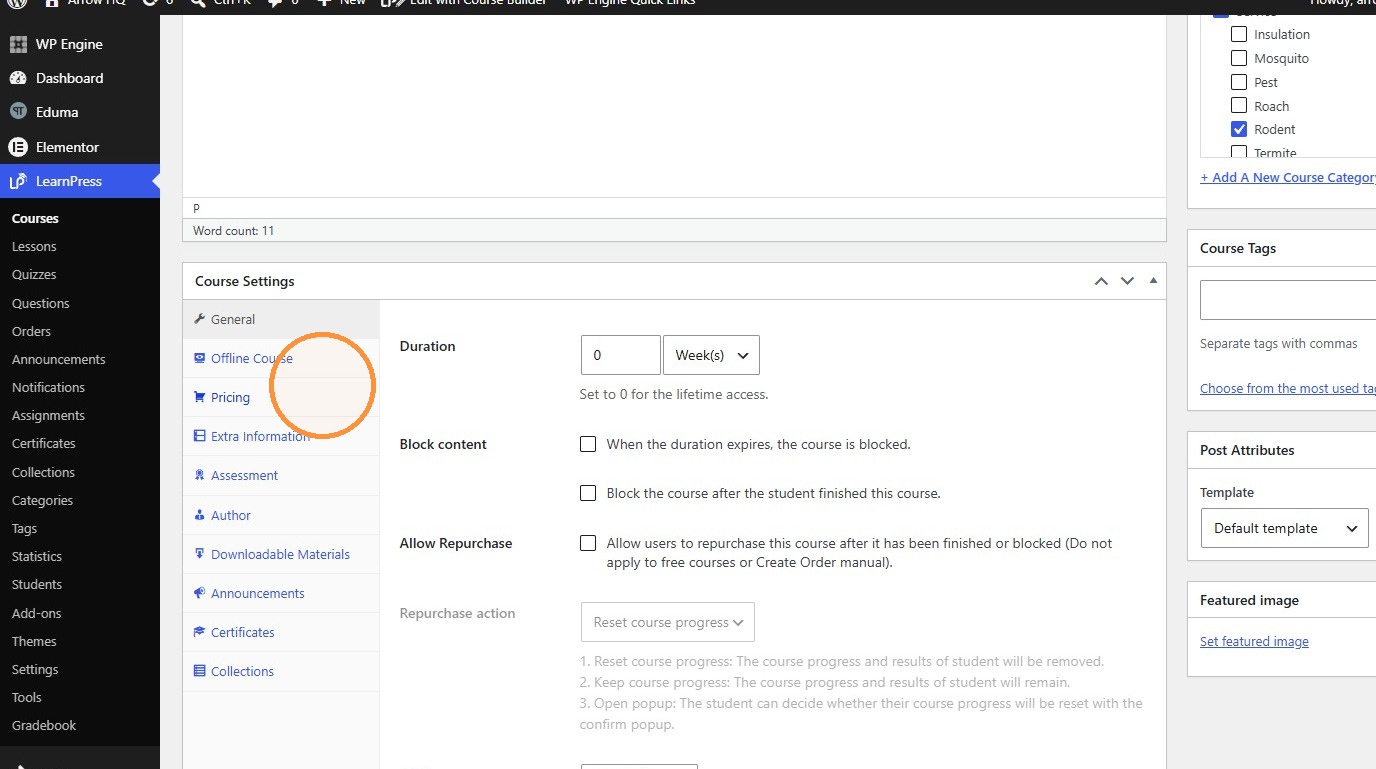
41. Click “Pricing” in Course Settings.
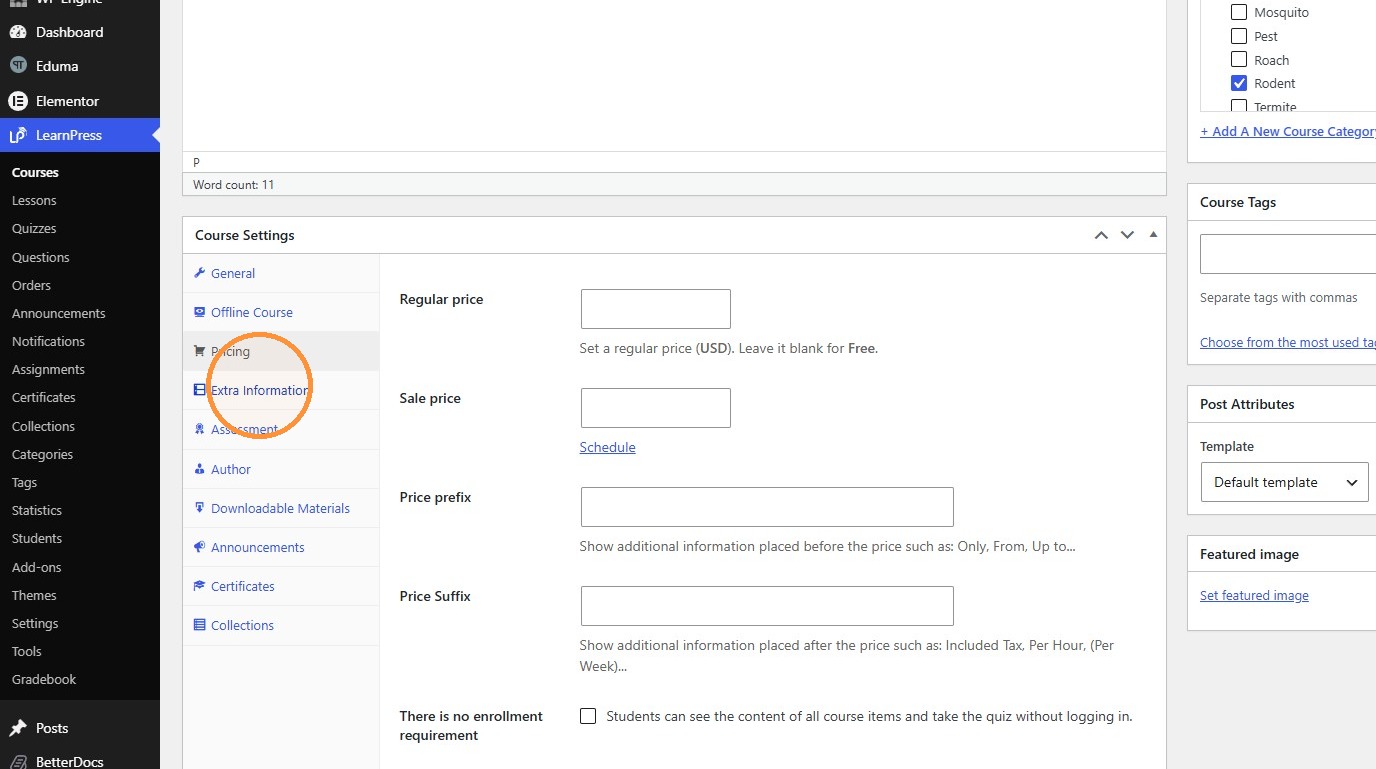
42. Click “Extra Information” in Course Settings.
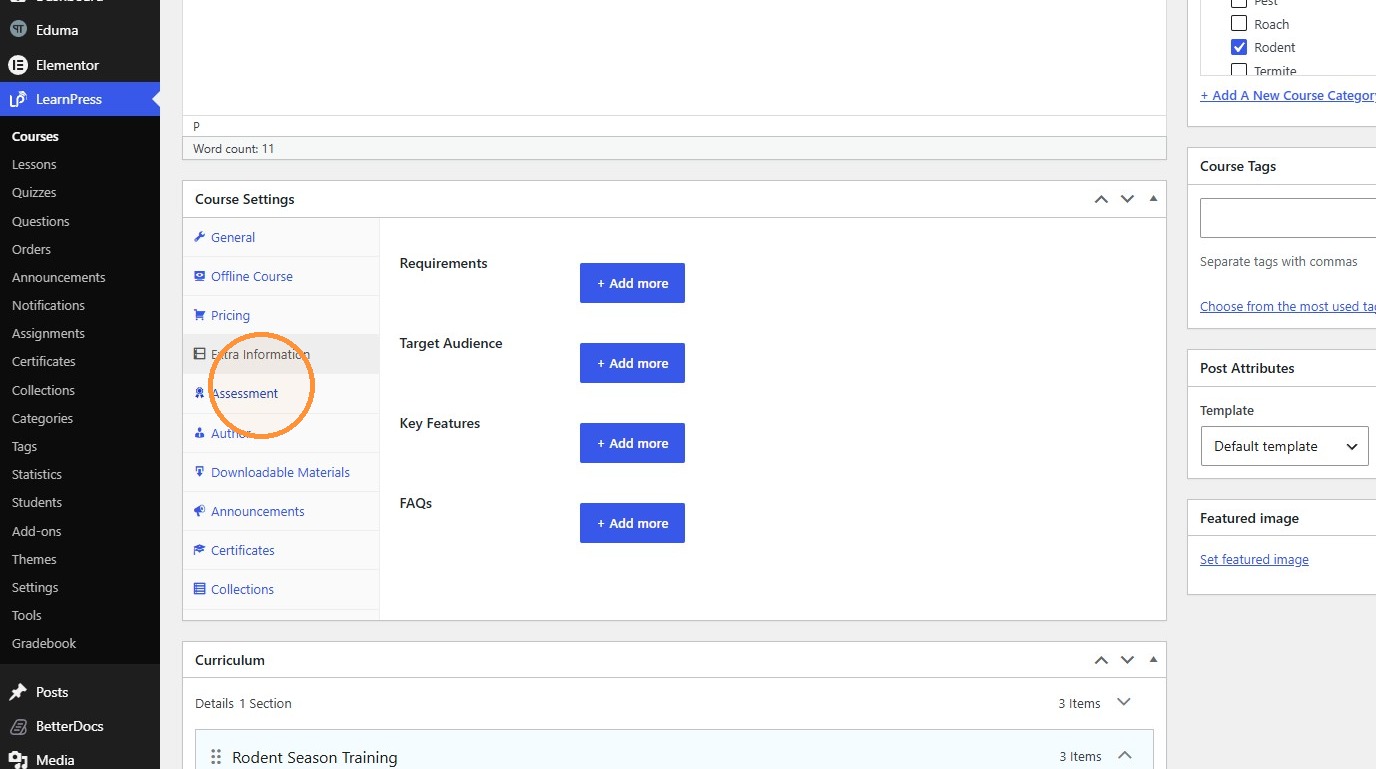
43. Click “Assessment” in Course Settings.
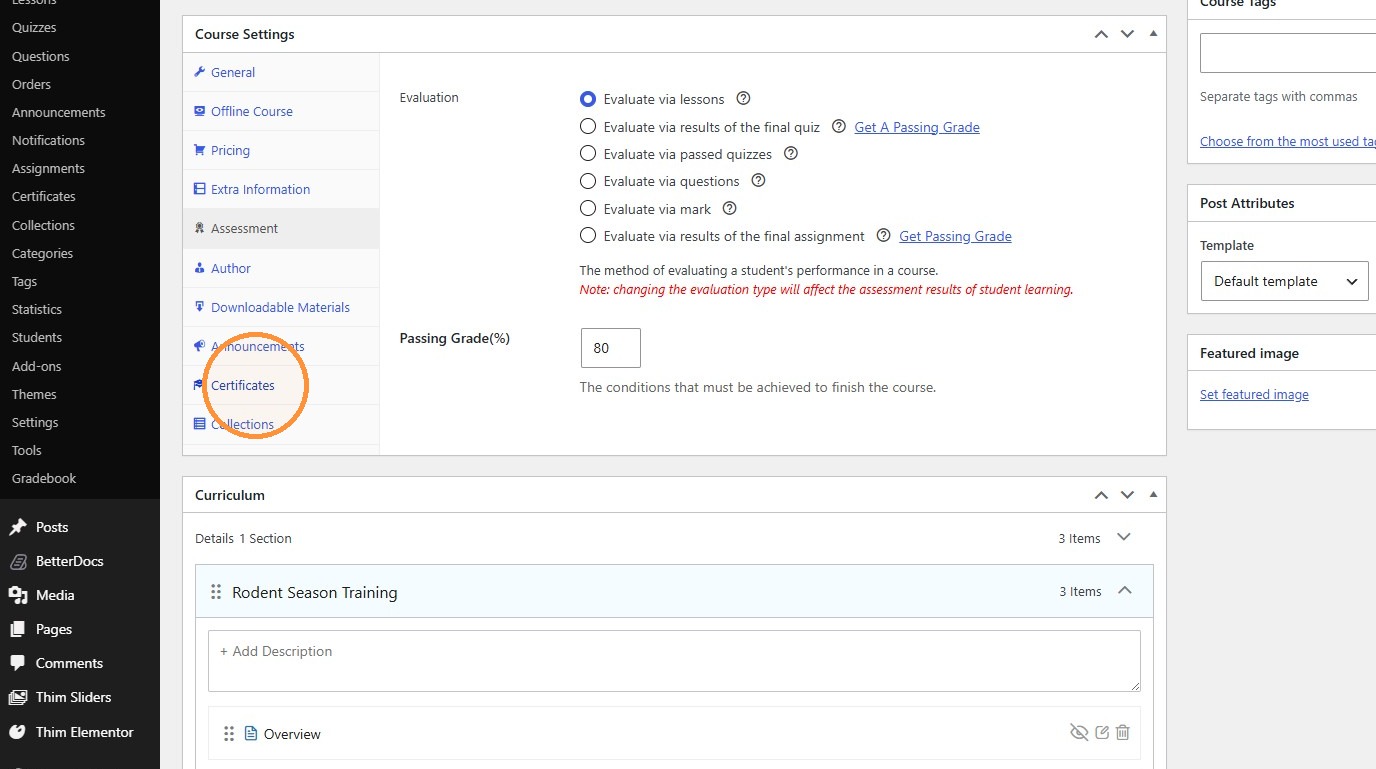
44. Click “Certificates” in Course Settings.
45. Click “Assign” on the certificate to use.
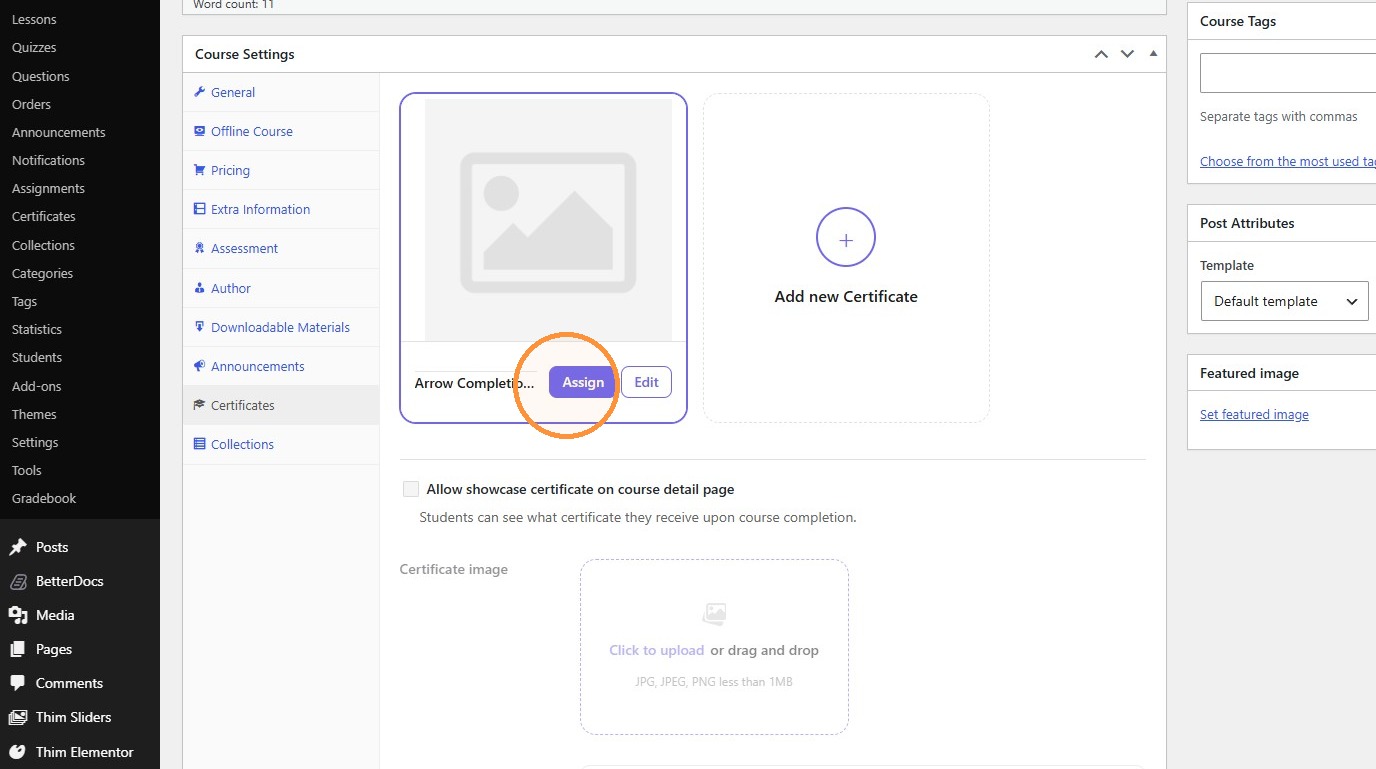
46. Click “Submit”
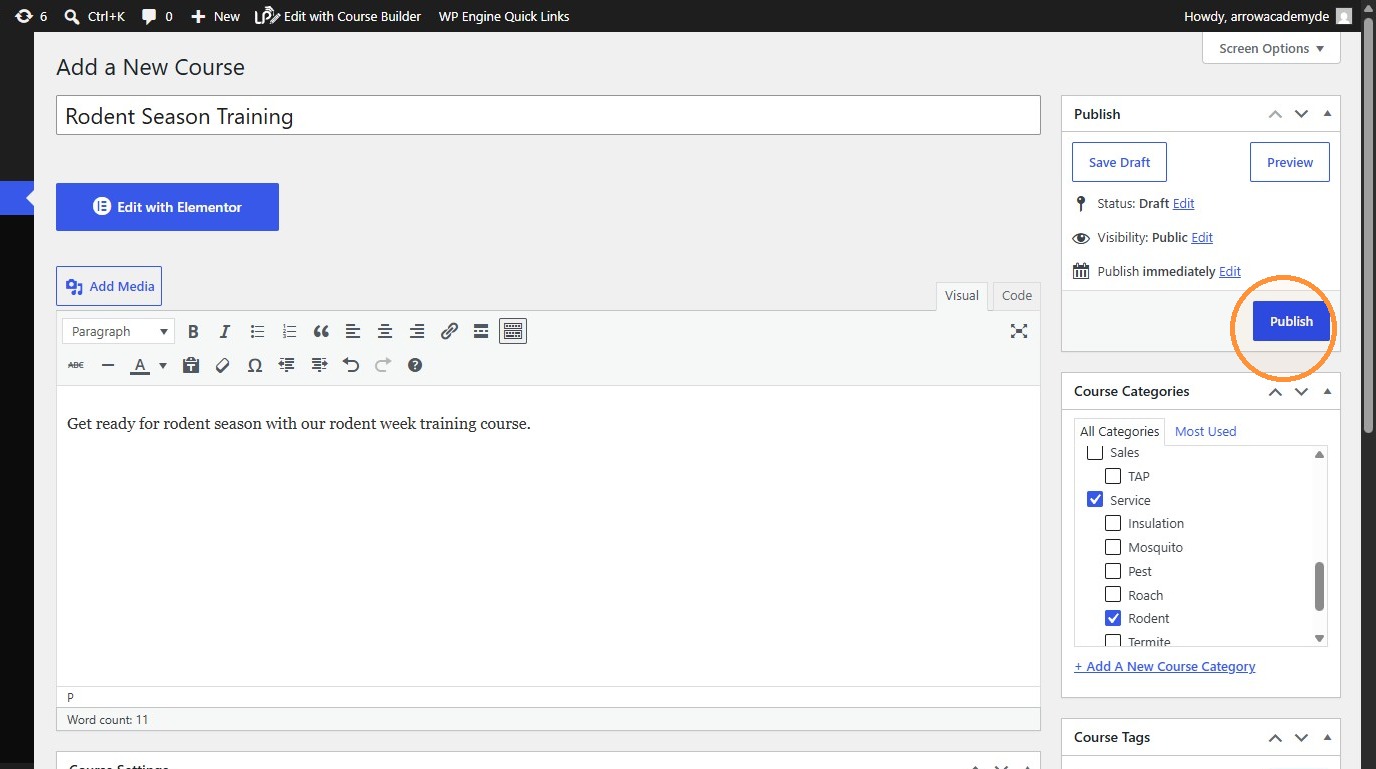
47. Click “View post.”
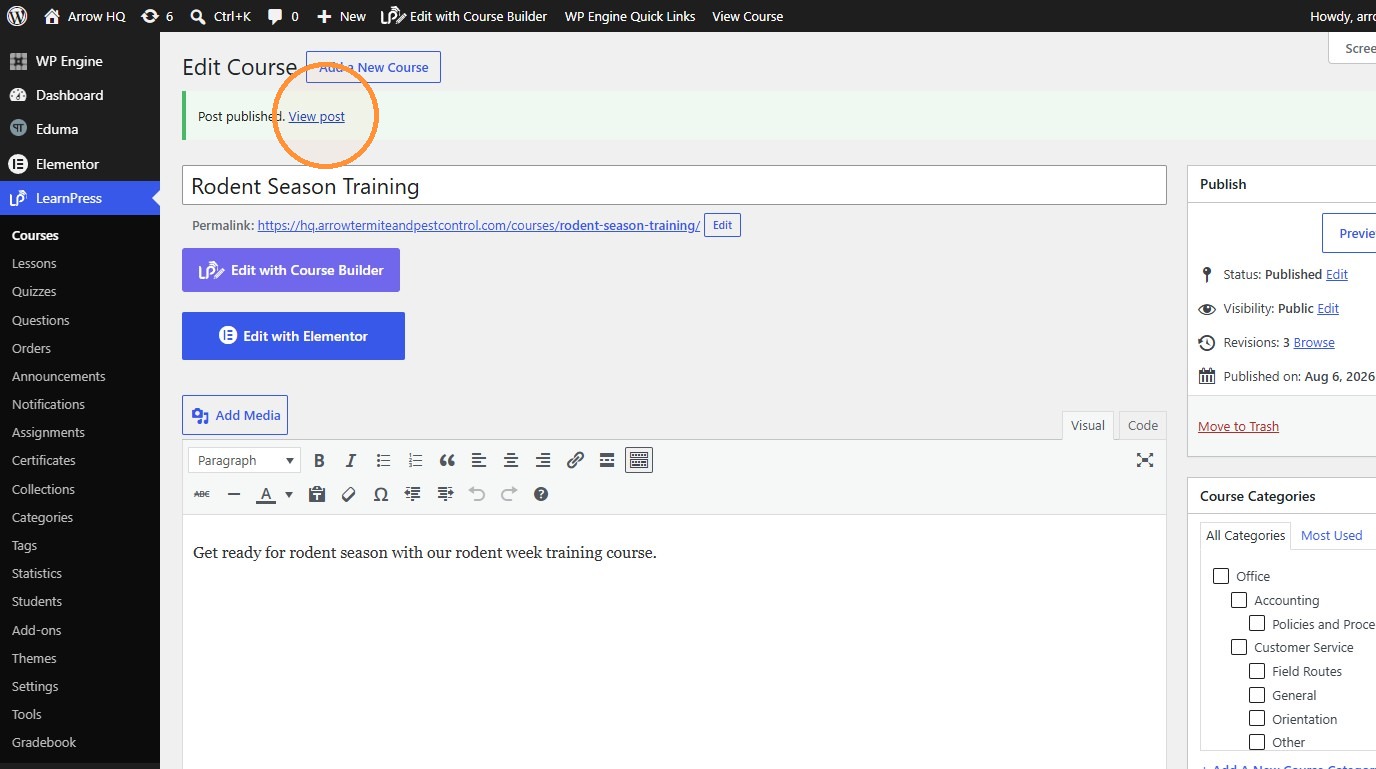
48. We forgot to add a featured image for the course. Click “Edit Course.”
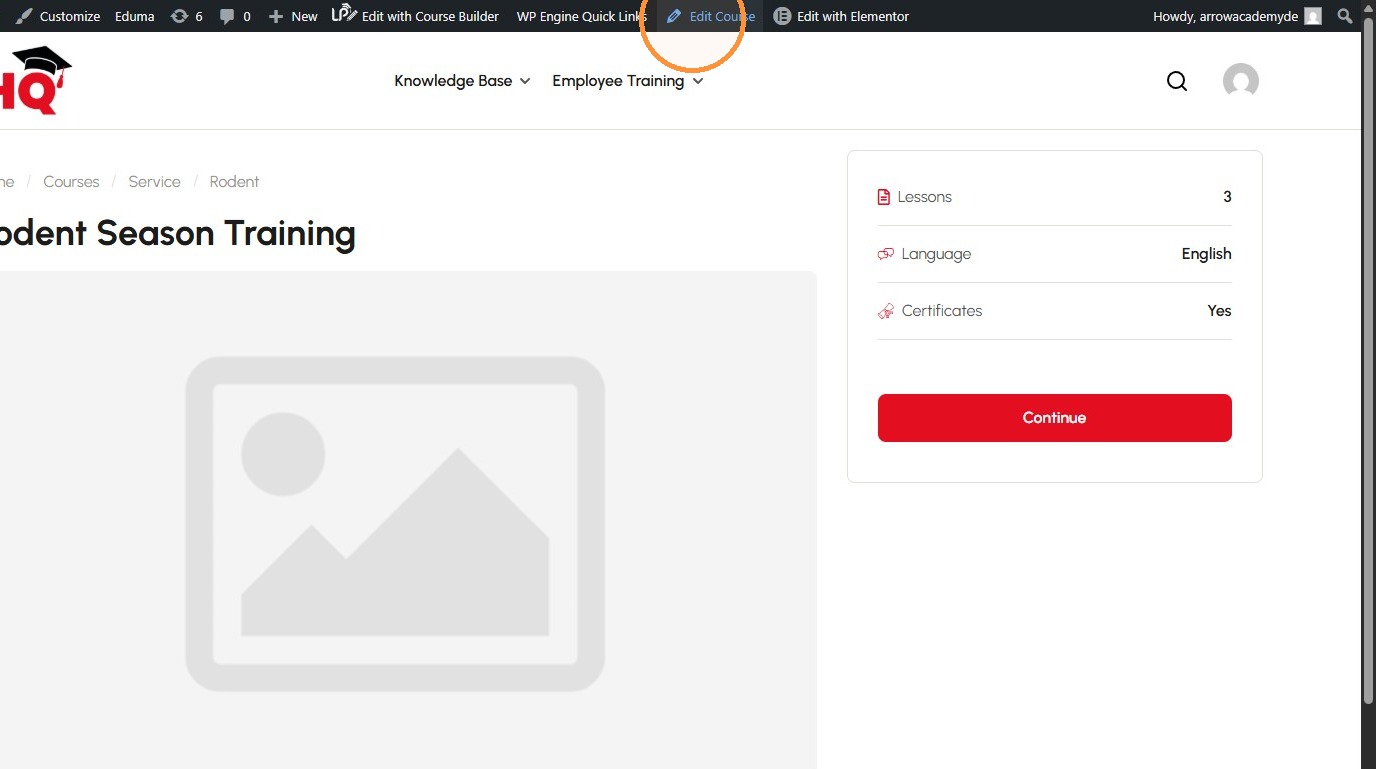
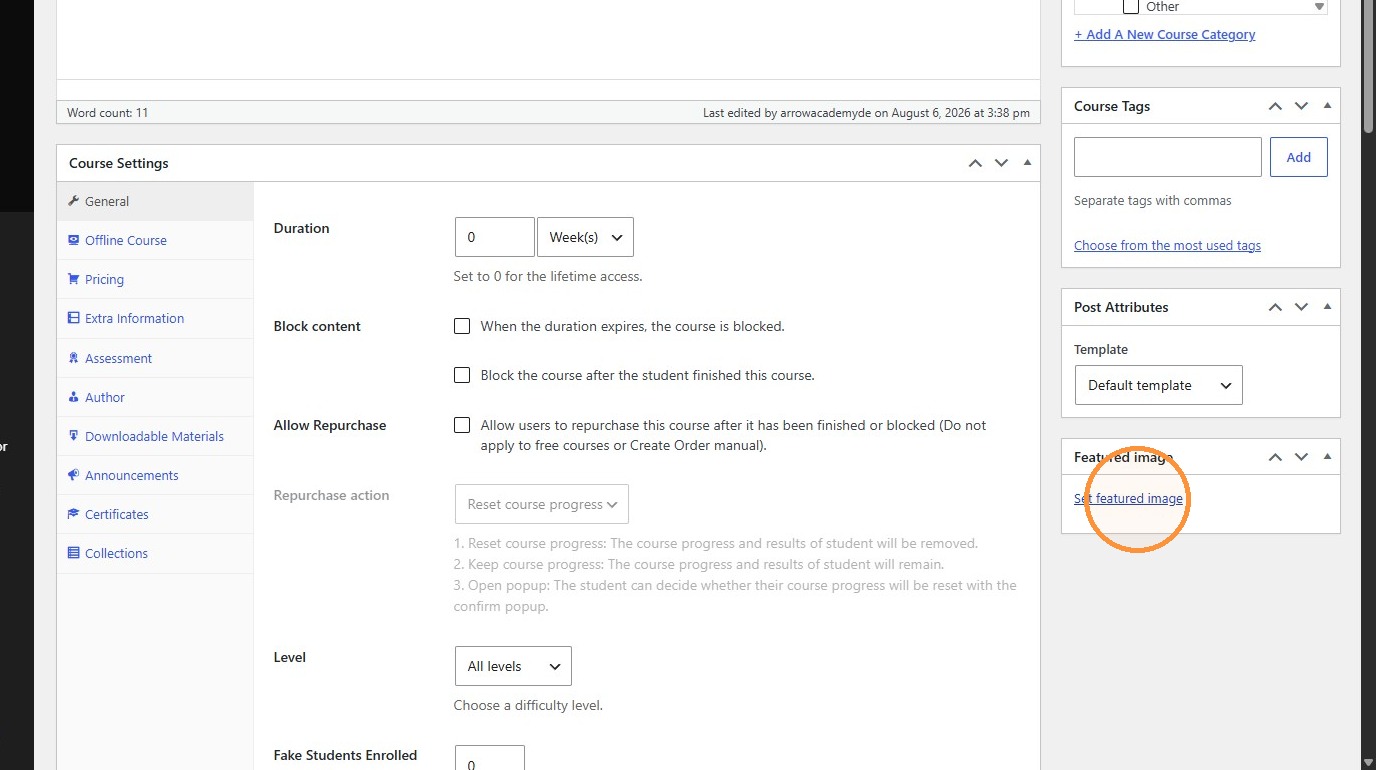
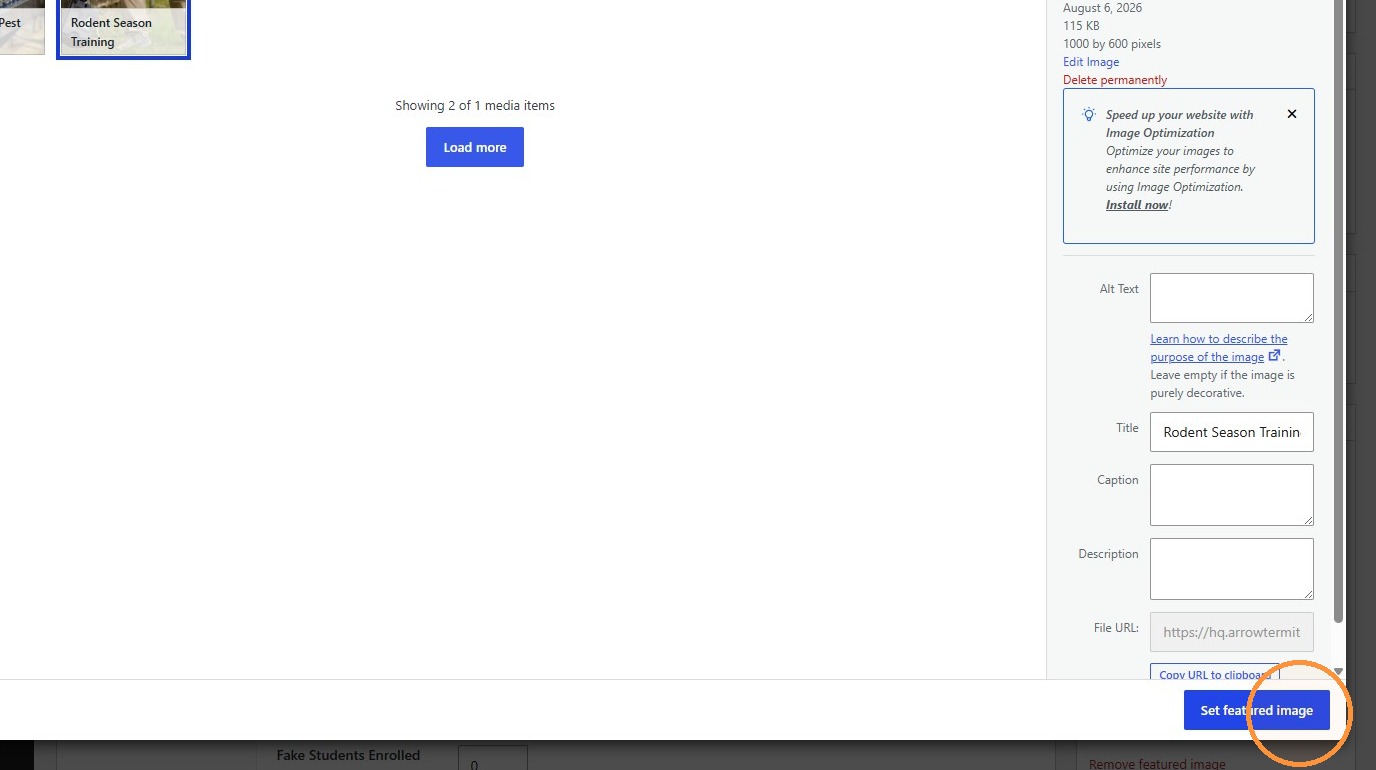
49. Click “Set featured image”
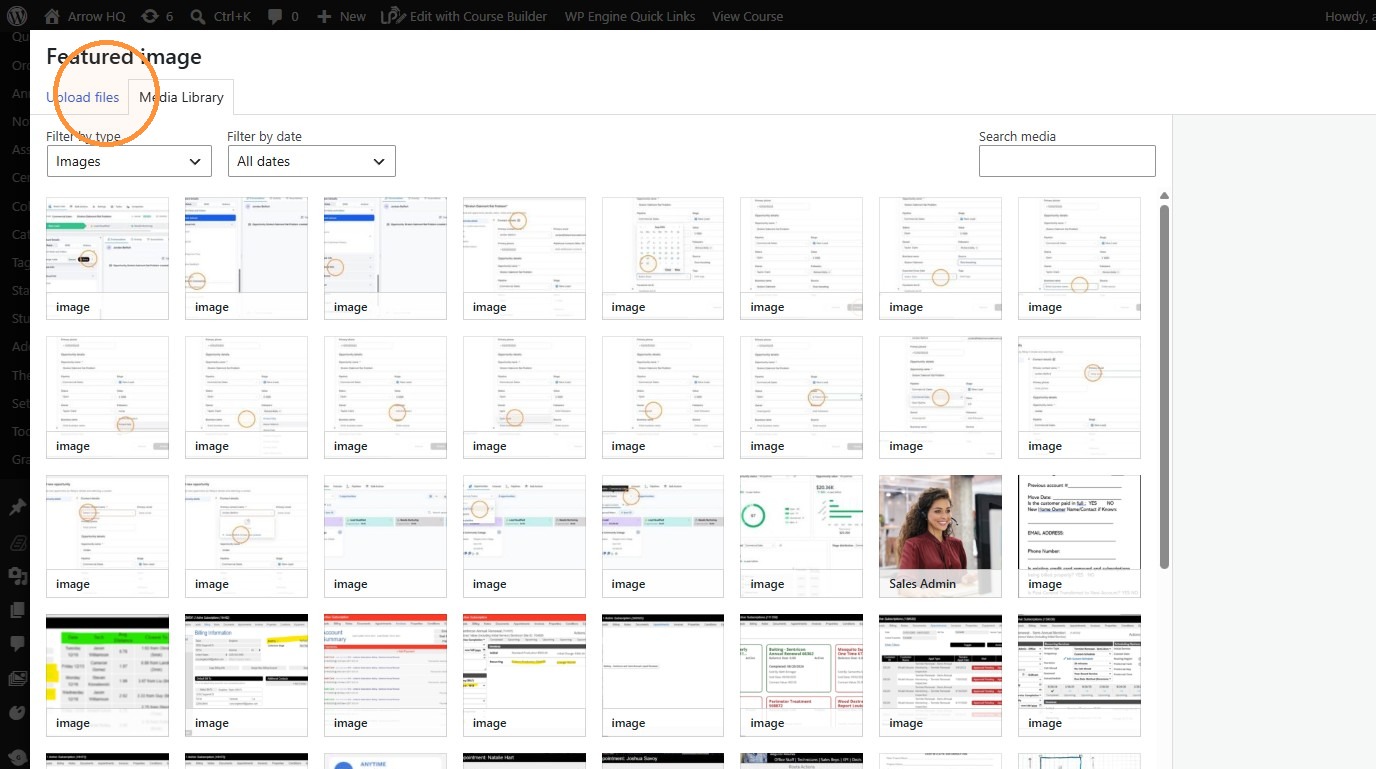
50. Click “Upload files”
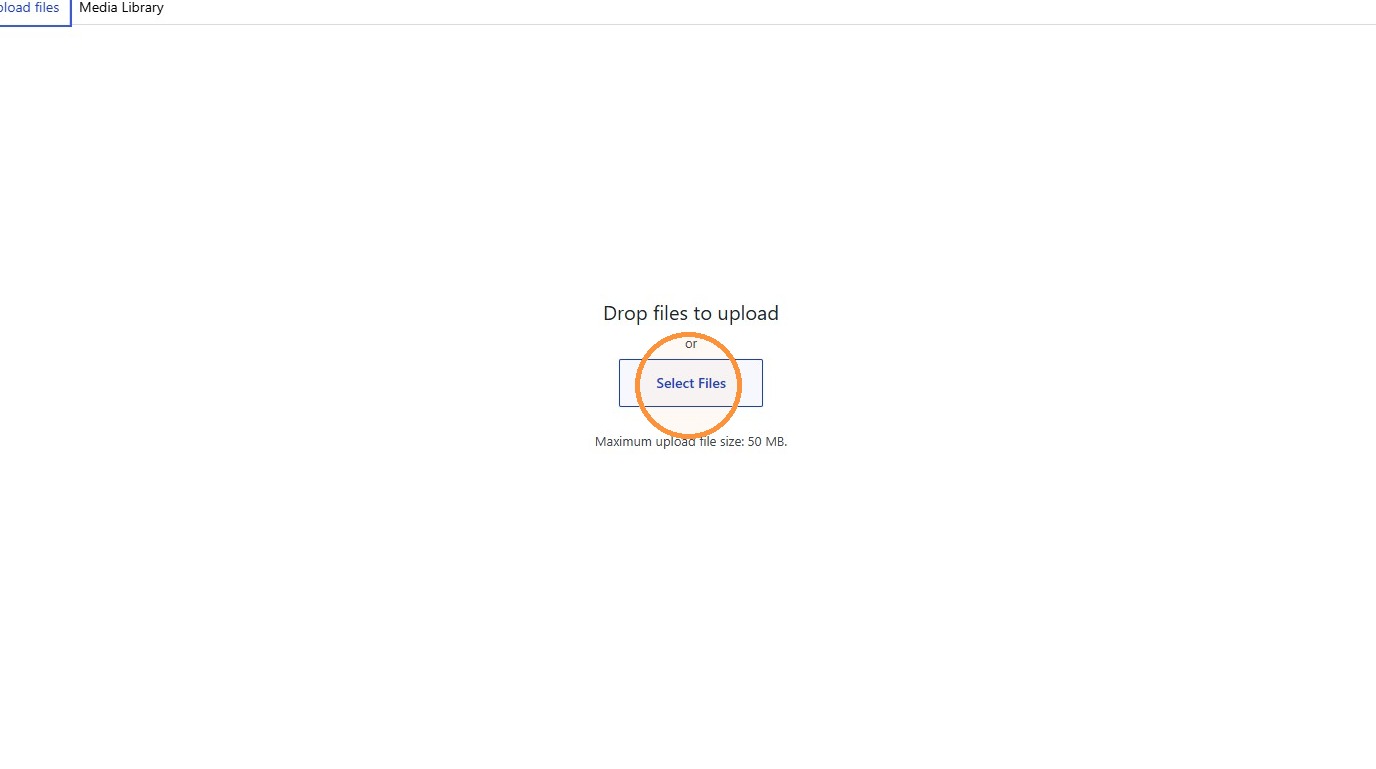
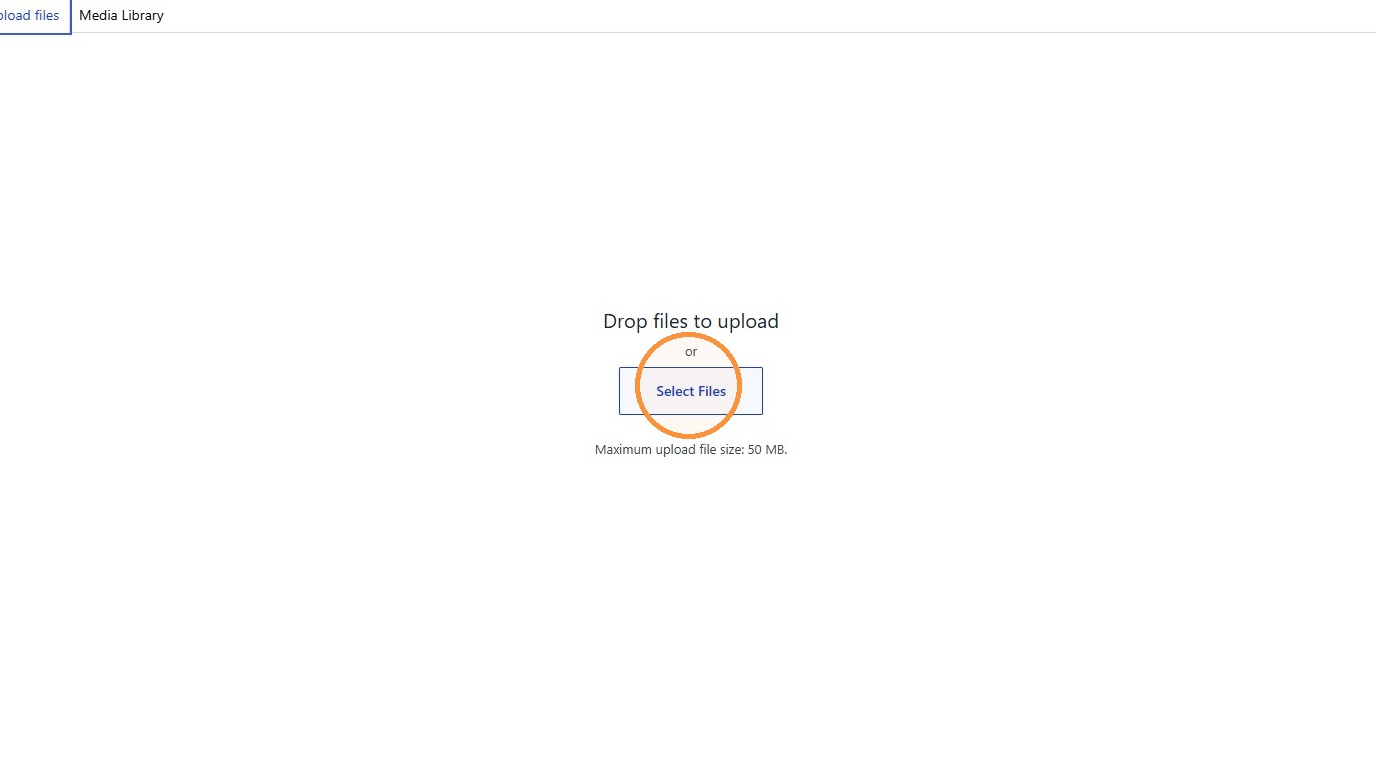
51. Click “Select Files”
Featured Image Design #
52. In a new tab, navigate to https://www.canva.com/
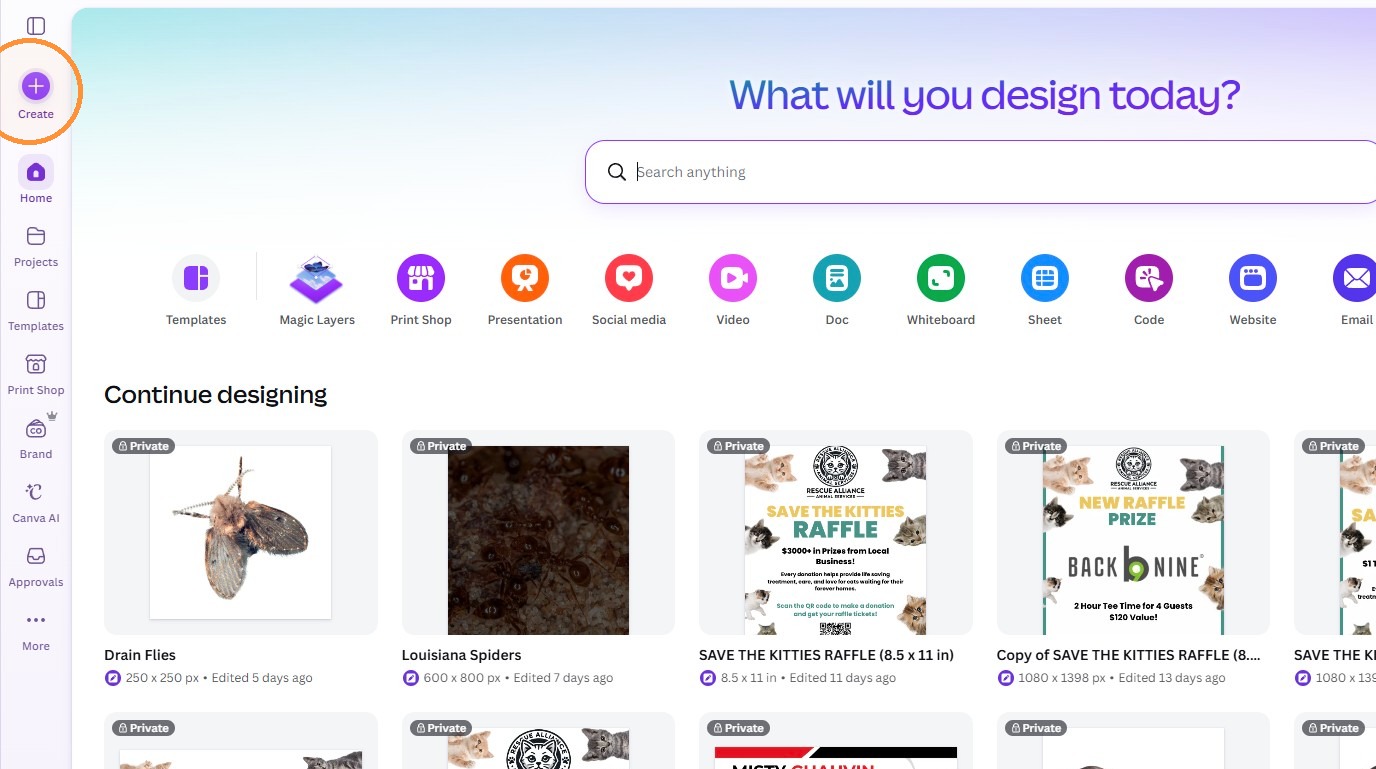
53. Click Create.
54. Click “Custom size.”
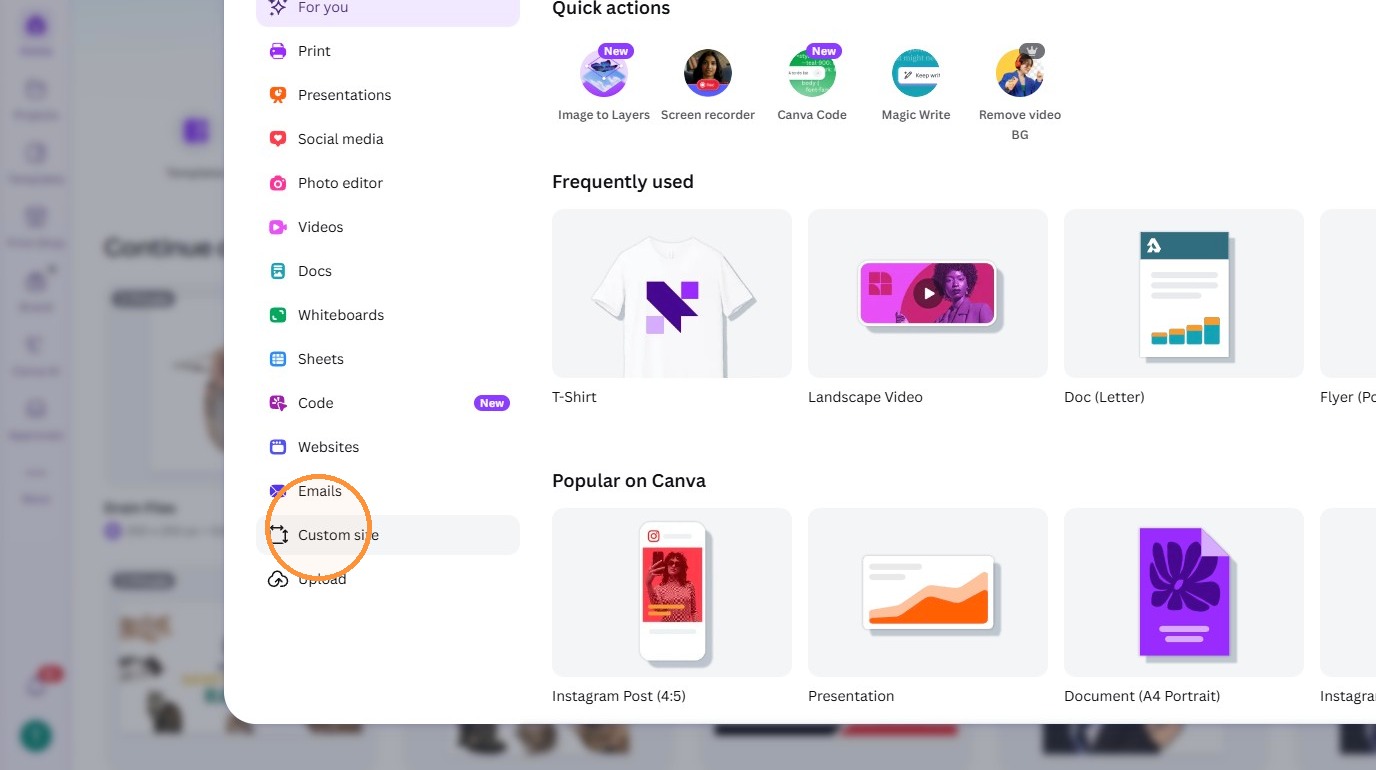
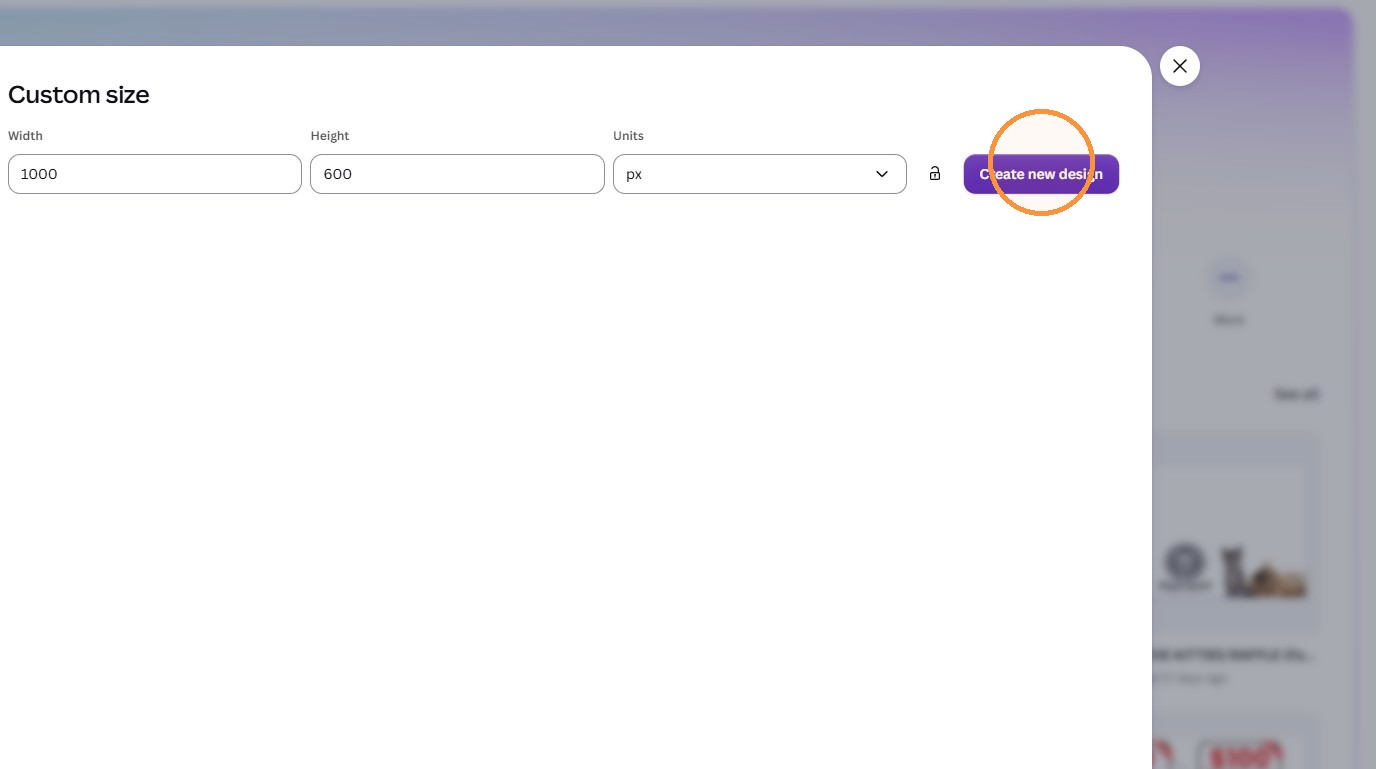
55. Set the Canva design size to 1000 × 600 pixels.
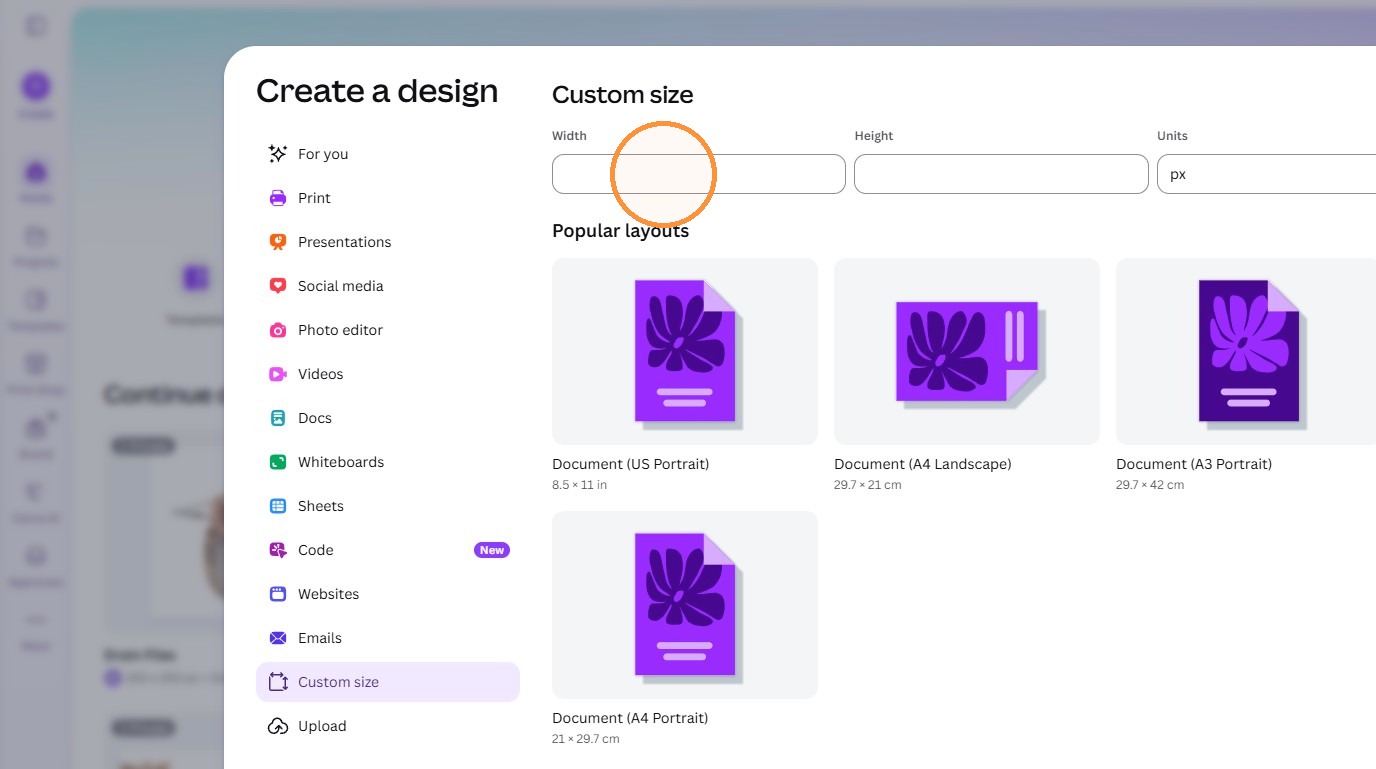
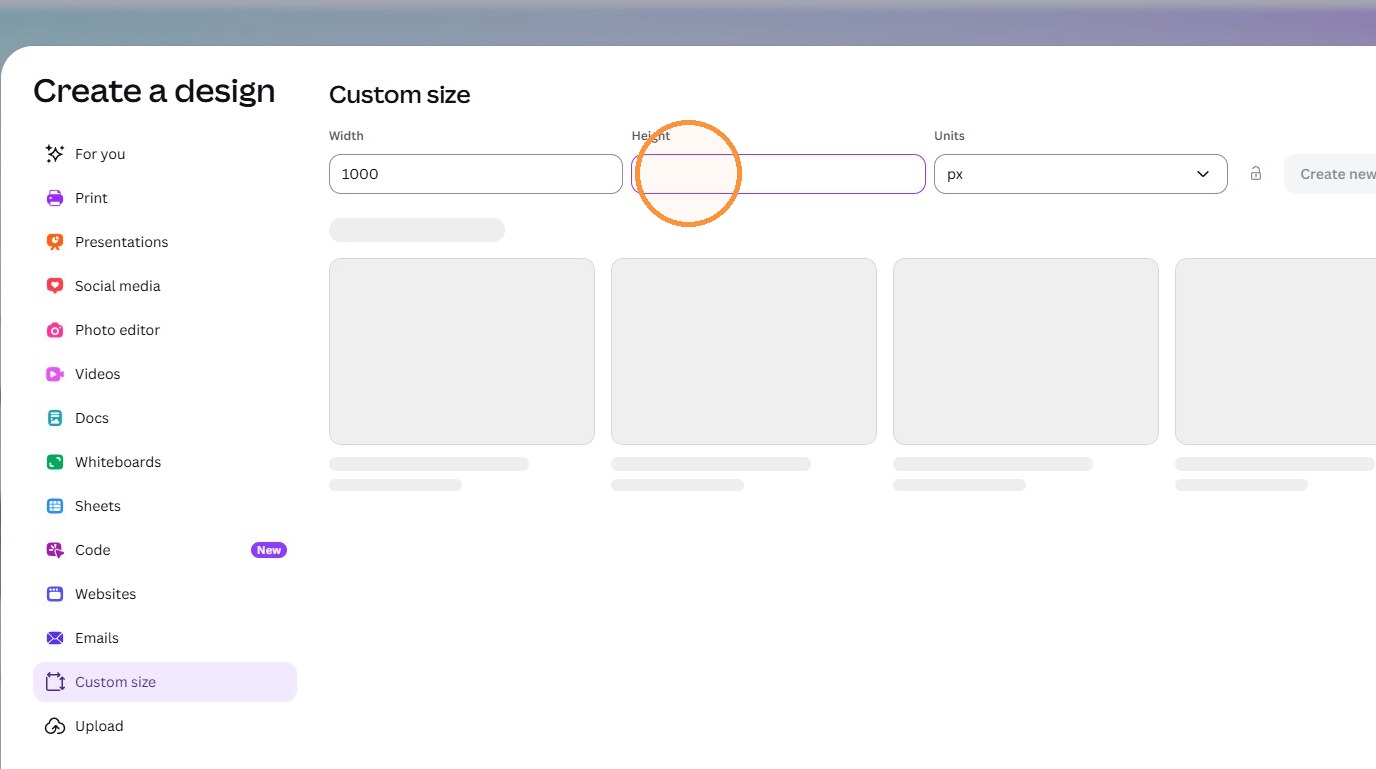
56. Click “Create new design.”
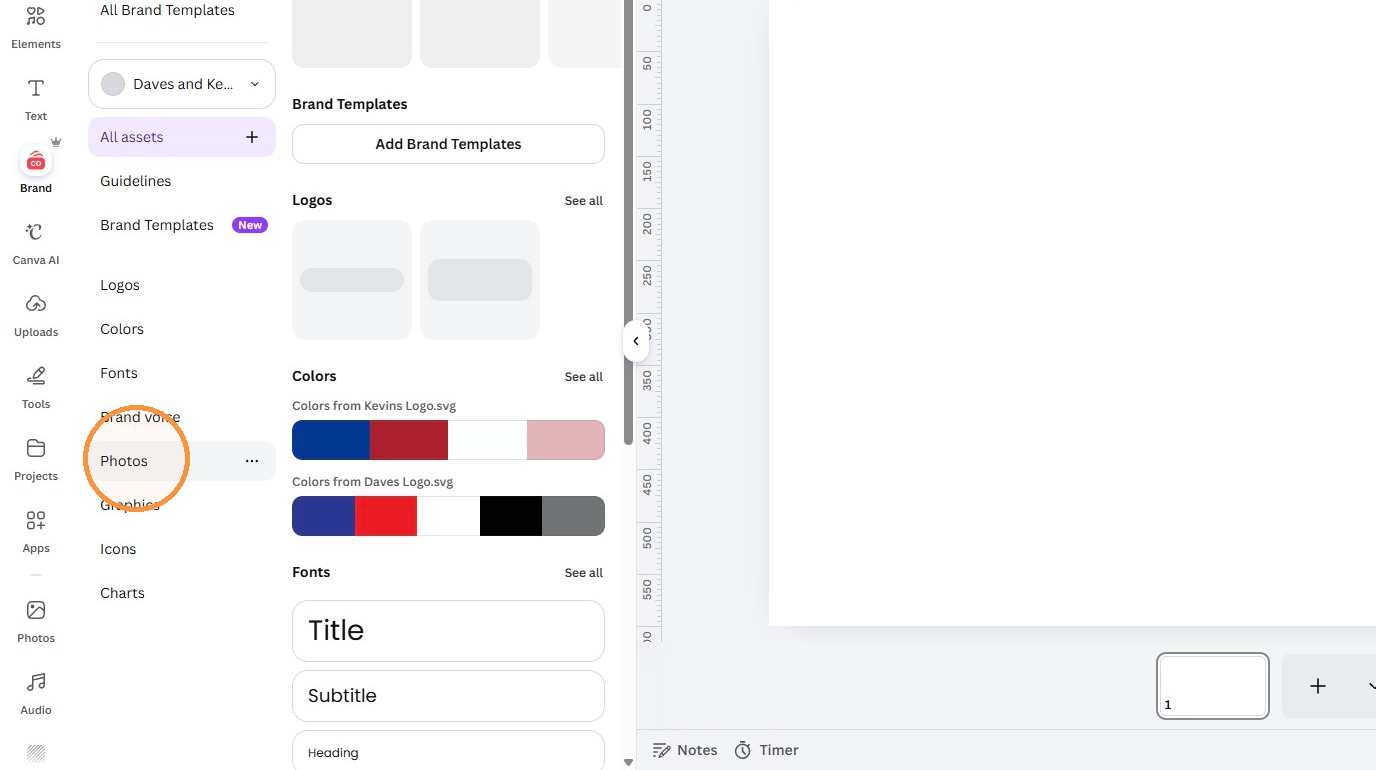
57. Find the photo you want to use on your computer or in the Brand folder under photos.
58. Click “Set image as background”
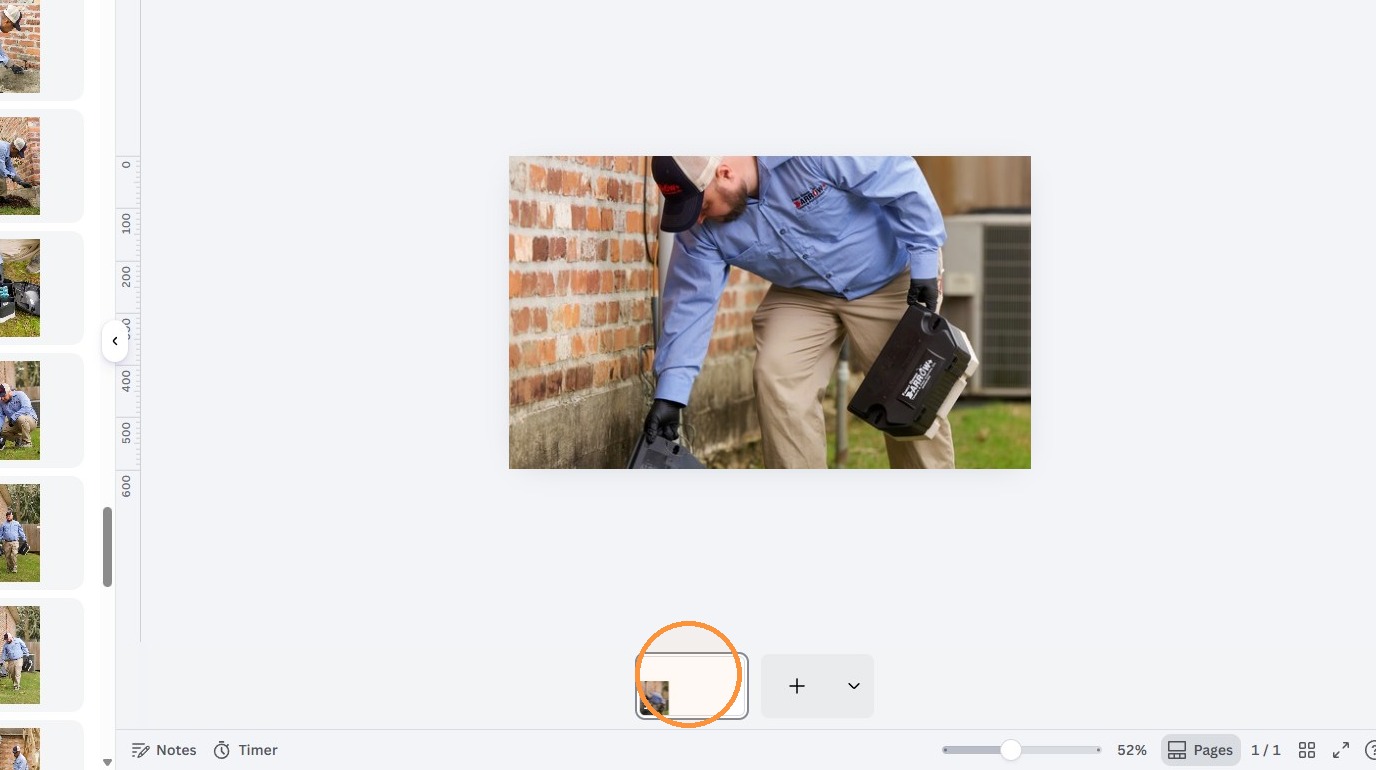
59. Click “Exit cropping mode”
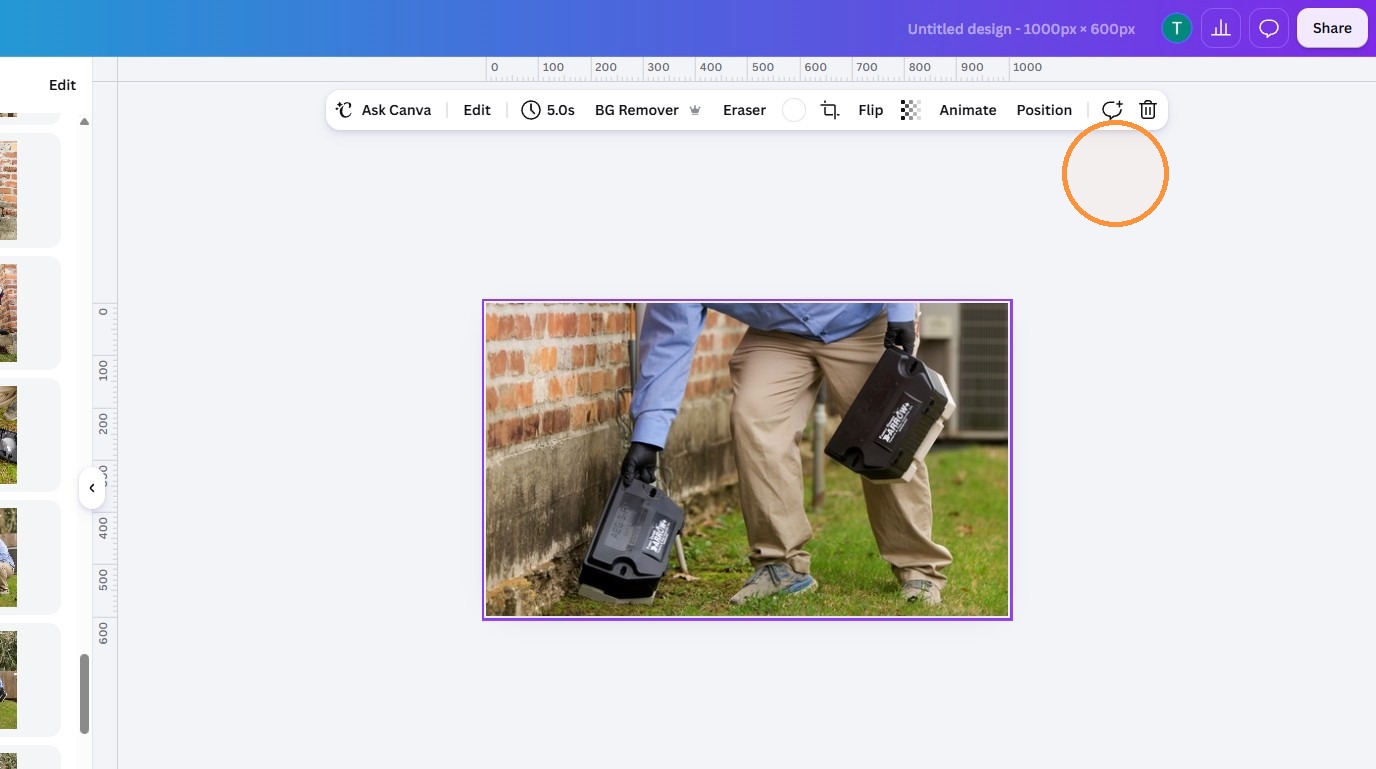
60. Name the design “Rodent Season Training” and open Share.
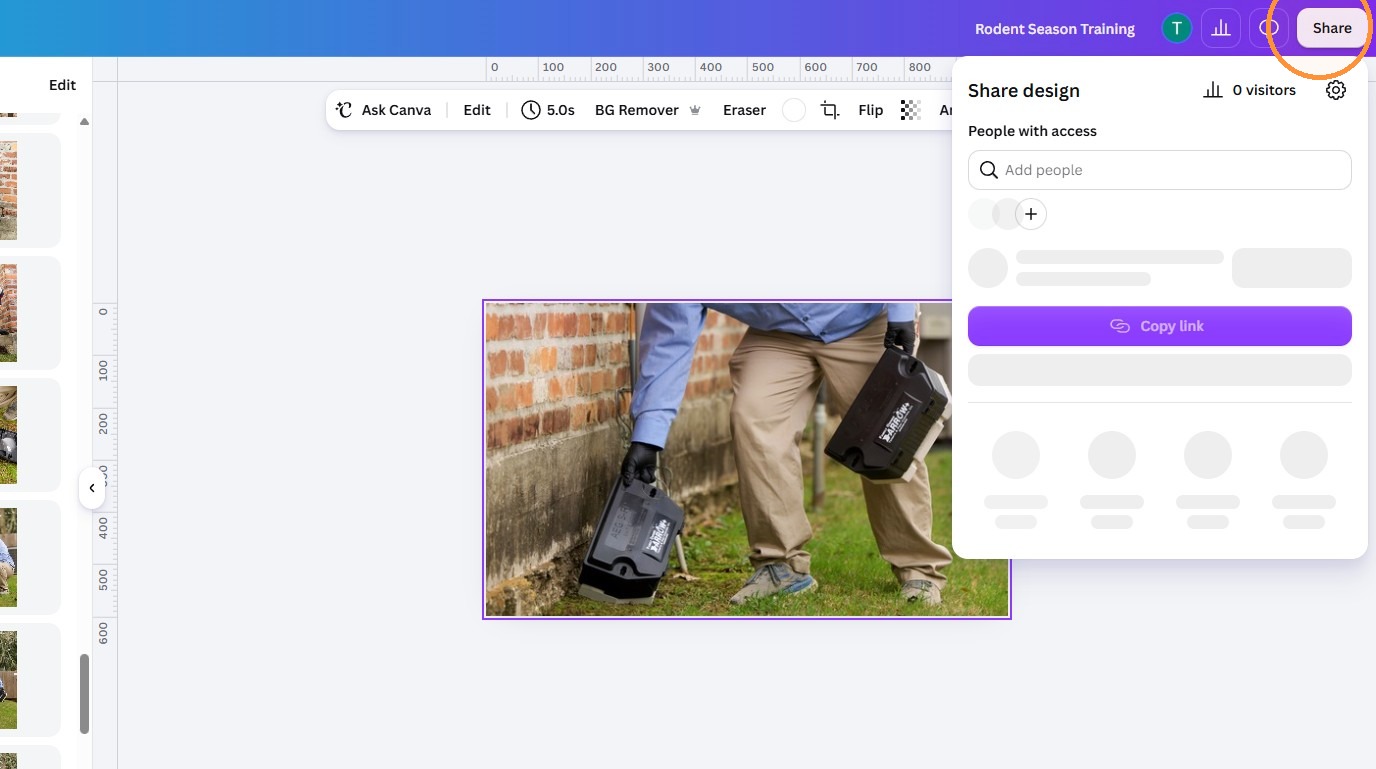
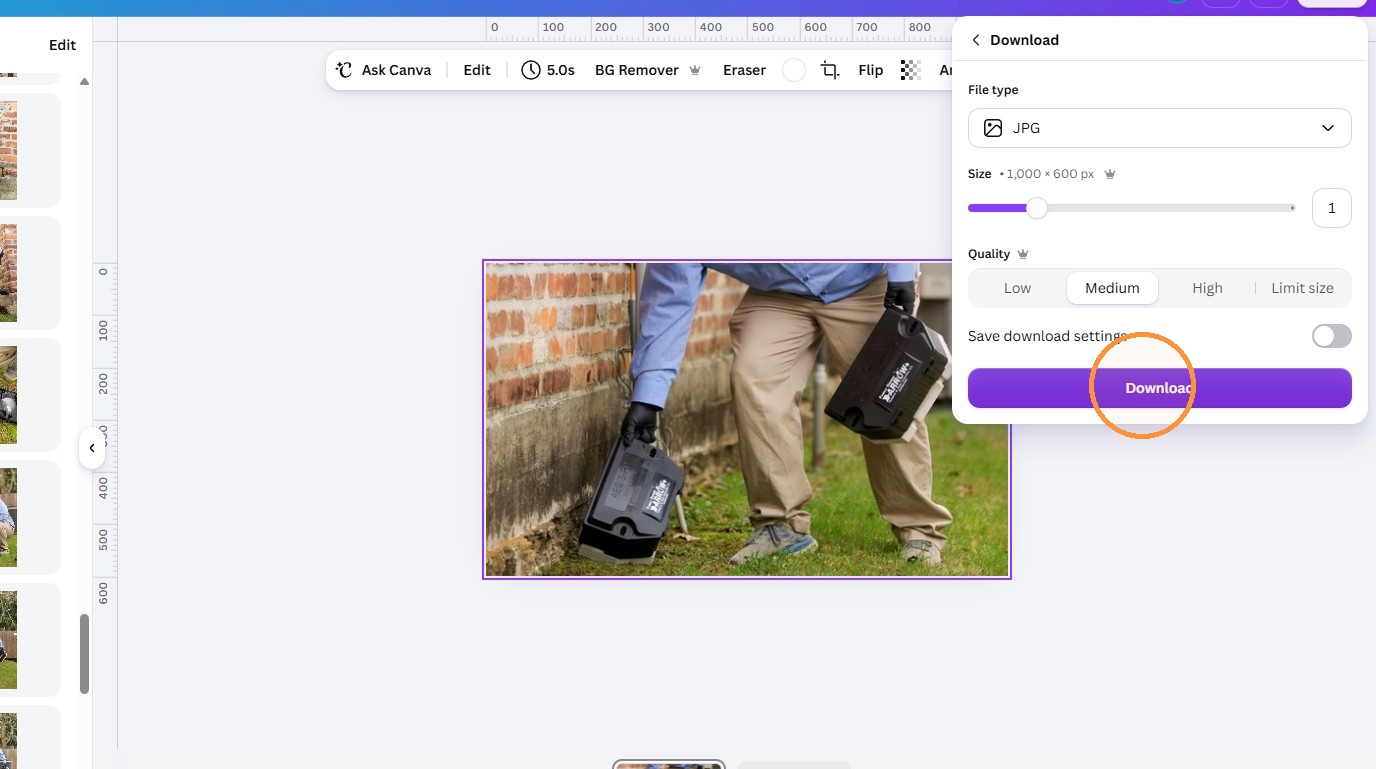
61. Click “Download.”
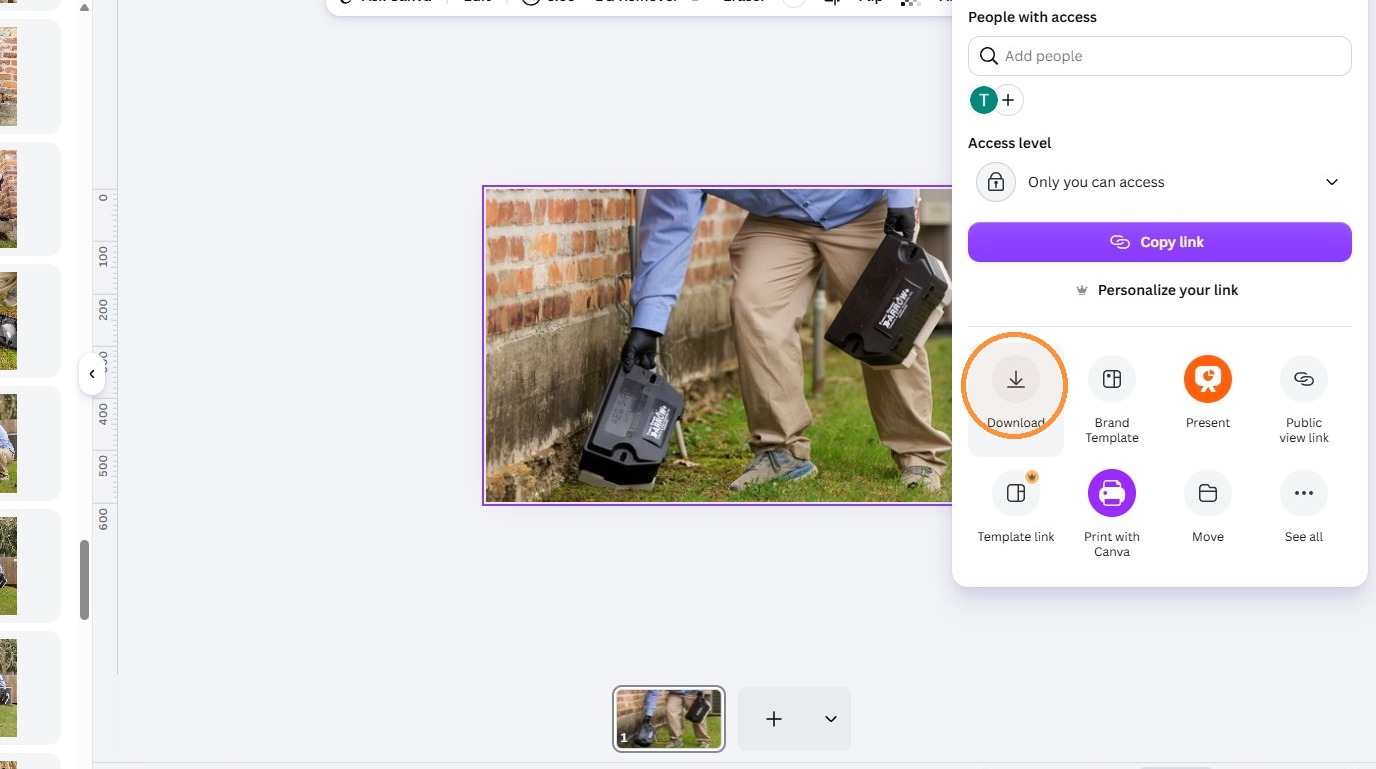
62. Open the file type menu showing PNG.
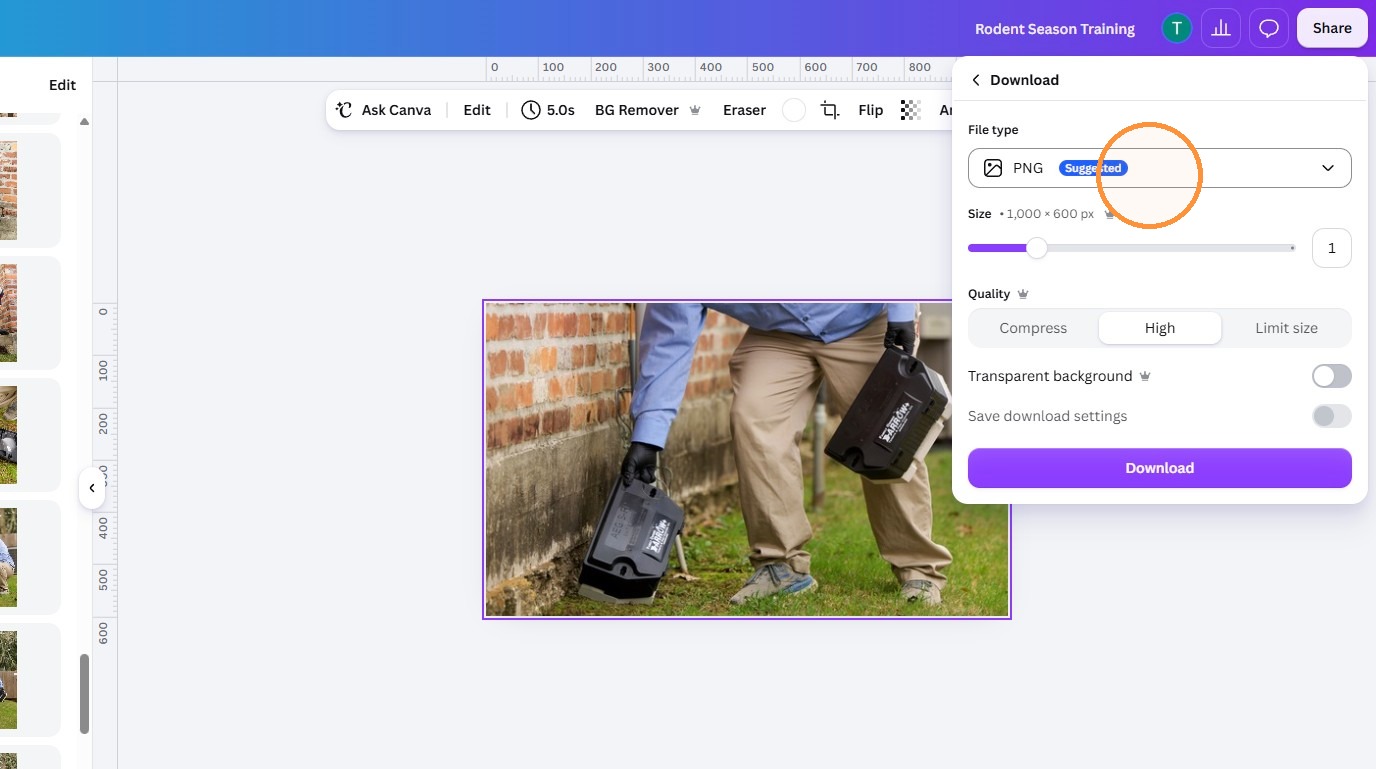
63. Select JPG, labeled “Best for sharing.”
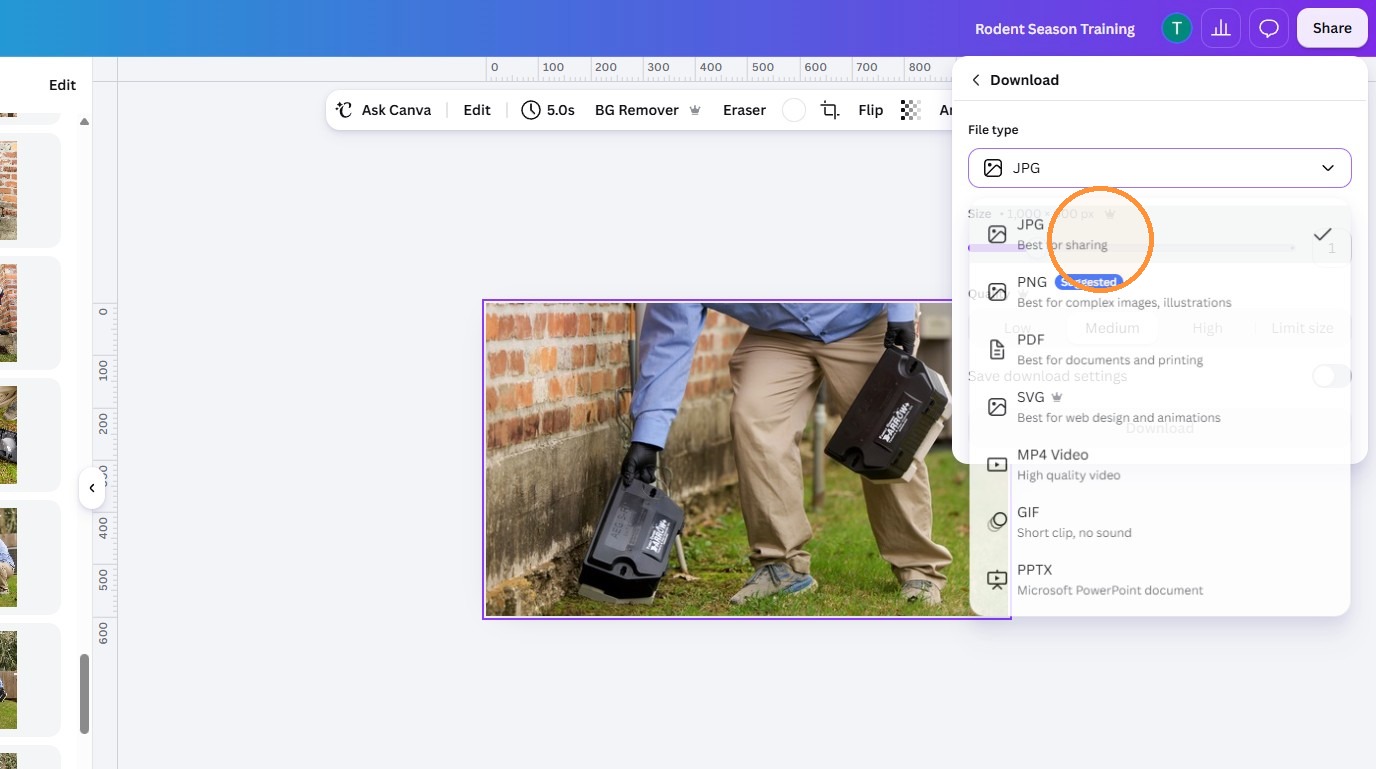
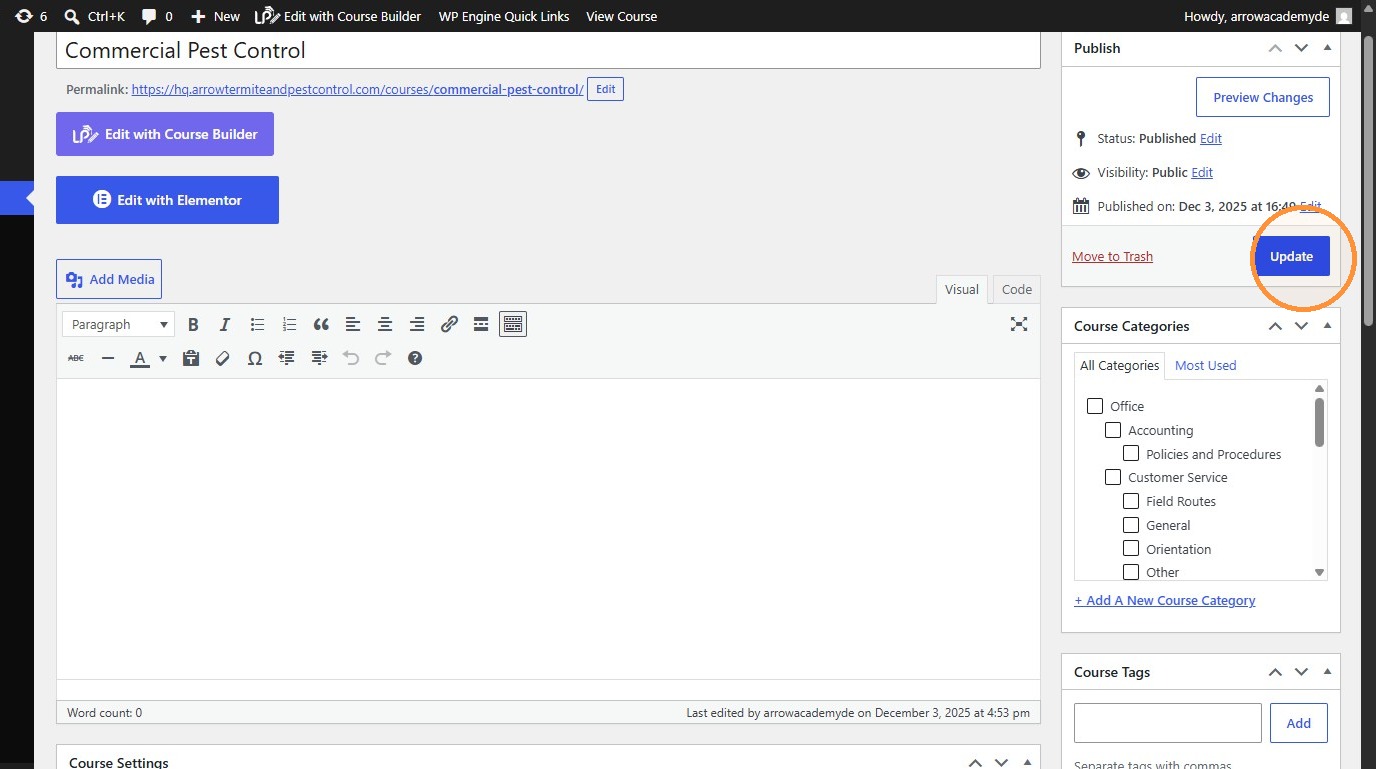
64. Click “Download.”
Course Image Upload #
65. Switch to tab Edit Course “Commercial Pest Control” ‹ Arrow HQ — WordPress”
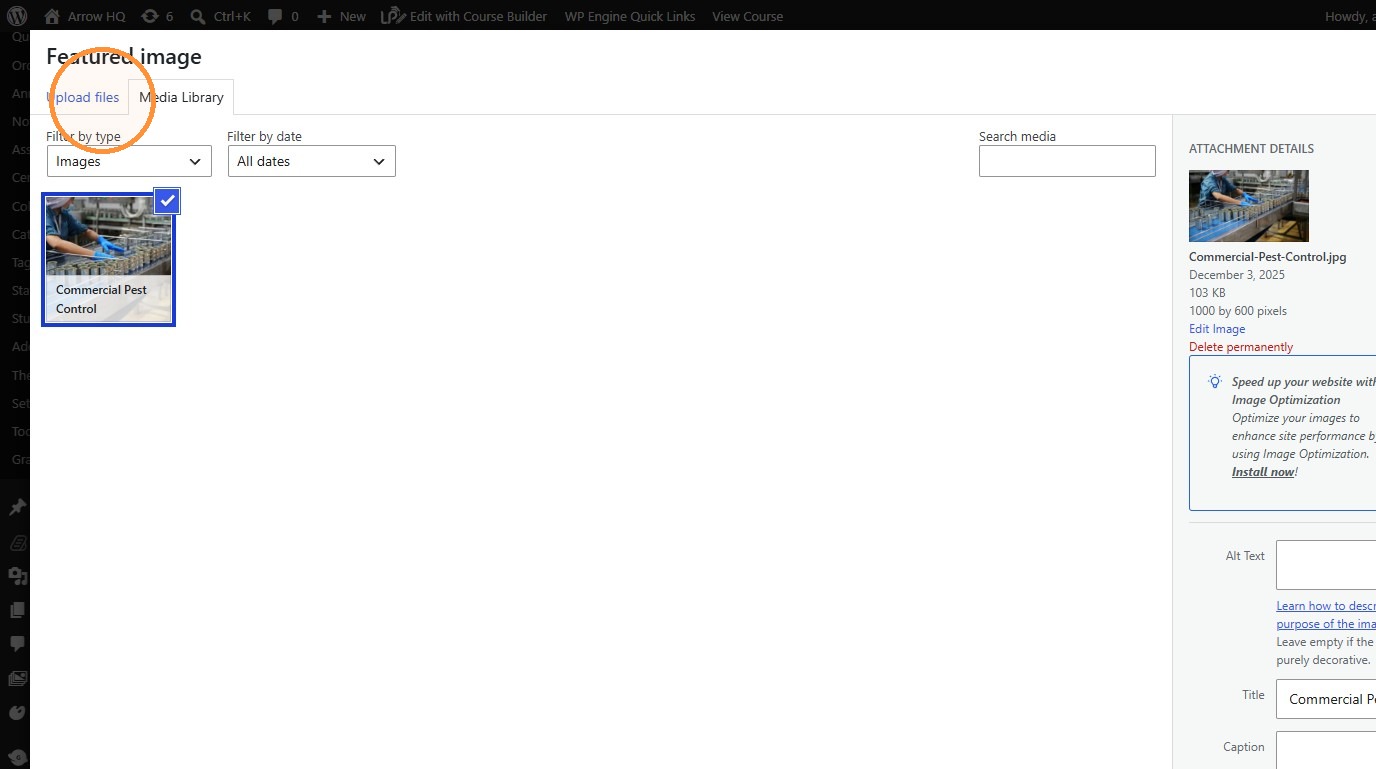
66. Click “Upload files.”
67. Click “Select Files.”
68. Choose your photo, then click “Set featured image.”
69. Click “Update.”